
Smoked BBQ Chicken & Grilled Veggies
There is something special about how food, fire, and smoke come together to create some great food. You can level up your outdoor cooking with the Ninja FlexFlame to deliver that perfect balance of BBQ chicken smoky, tender and grilled veggies charred and flavorful. After spending so many weekends trying to achieve the perfect technique, I can proudly say that this meal is a showstopper in any gathering. Today I’m going to share my best tips and tricks on how to Smoked BBQ Chicken & Grilled Veggies like a pro!
Key Takeaways
- Preparation matters: Brining chicken before smoking ensures juicy, flavorful results
- Temperature control is crucial: Low and slow smoking (225-250°F) followed by a higher heat finish yields perfect chicken
- Wood selection affects flavor: Different wood chips create distinct smoke profiles that complement chicken differently
- Vegetable timing varies: Different vegetables require different cooking times and techniques
- Multi-functional equipment saves time: The Ninja FlexFlame system allows for smoking, grilling, roasting, and more in one setup
Selecting the Perfect Chicken
First of all, I would like to note that the foundation of great Smoked BBQ Chicken & Grilled Veggies is based on quality ingredients. I have also found that bone-in, skin-on pieces make all the difference and stay incredibly juicy throughout the smoking process. Thighs and drumsticks are ideal for beginners because of their higher fat content, but breasts need some tender loving care to avoid drying out.
If I can get my hands on it, I always go for free-range, air-chilled chicken. The taste difference is noticeable and the drier skin helps to achieve that perfectly crispy exterior we all crave. For a family of four, I usually prepare about 3-4 pounds of chicken, so there is enough for dinner and some tasty leftovers.
The Art of Brining
Before my chicken ever meets smoke, it takes a long soak in brine. This step is non-negotiable if you want truly juicy results. My go-to brine combines:
- 1 gallon of cold water
- ⅔ cup kosher salt
- ⅓ cup brown sugar
- 4 crushed garlic cloves
- 2 bay leaves
- 1 tablespoon whole peppercorns
- Optional: citrus slices, herbs like thyme or rosemary
I submerge the chicken for at least 4 hours, but preferably overnight. The salt works its way into the meat through osmosis, helping it retain moisture during cooking while also seasoning it from within.
After brining, I rinse the chicken thoroughly and pat it completely dry with paper towels. This step is crucial for developing that beautiful mahogany bark on the exterior.
Rub Development: Building Layers of Flavor
With properly brined chicken, you don’t need an overly complex rub. My favorite combines:
- 2 tablespoons brown sugar
- 1 tablespoon paprika
- 1 tablespoon garlic powder
- 2 teaspoons onion powder
- 2 teaspoons black pepper
- 1 teaspoon dried thyme
- 1 teaspoon mustard powder
- ½ teaspoon cayenne (adjust to your heat preference)
I apply a thin layer of olive oil or mustard as a binder first, then generously apply the rub, making sure to get under the skin where possible. Then, I let the chicken sit at room temperature for about 30 minutes before it hits the smoker.
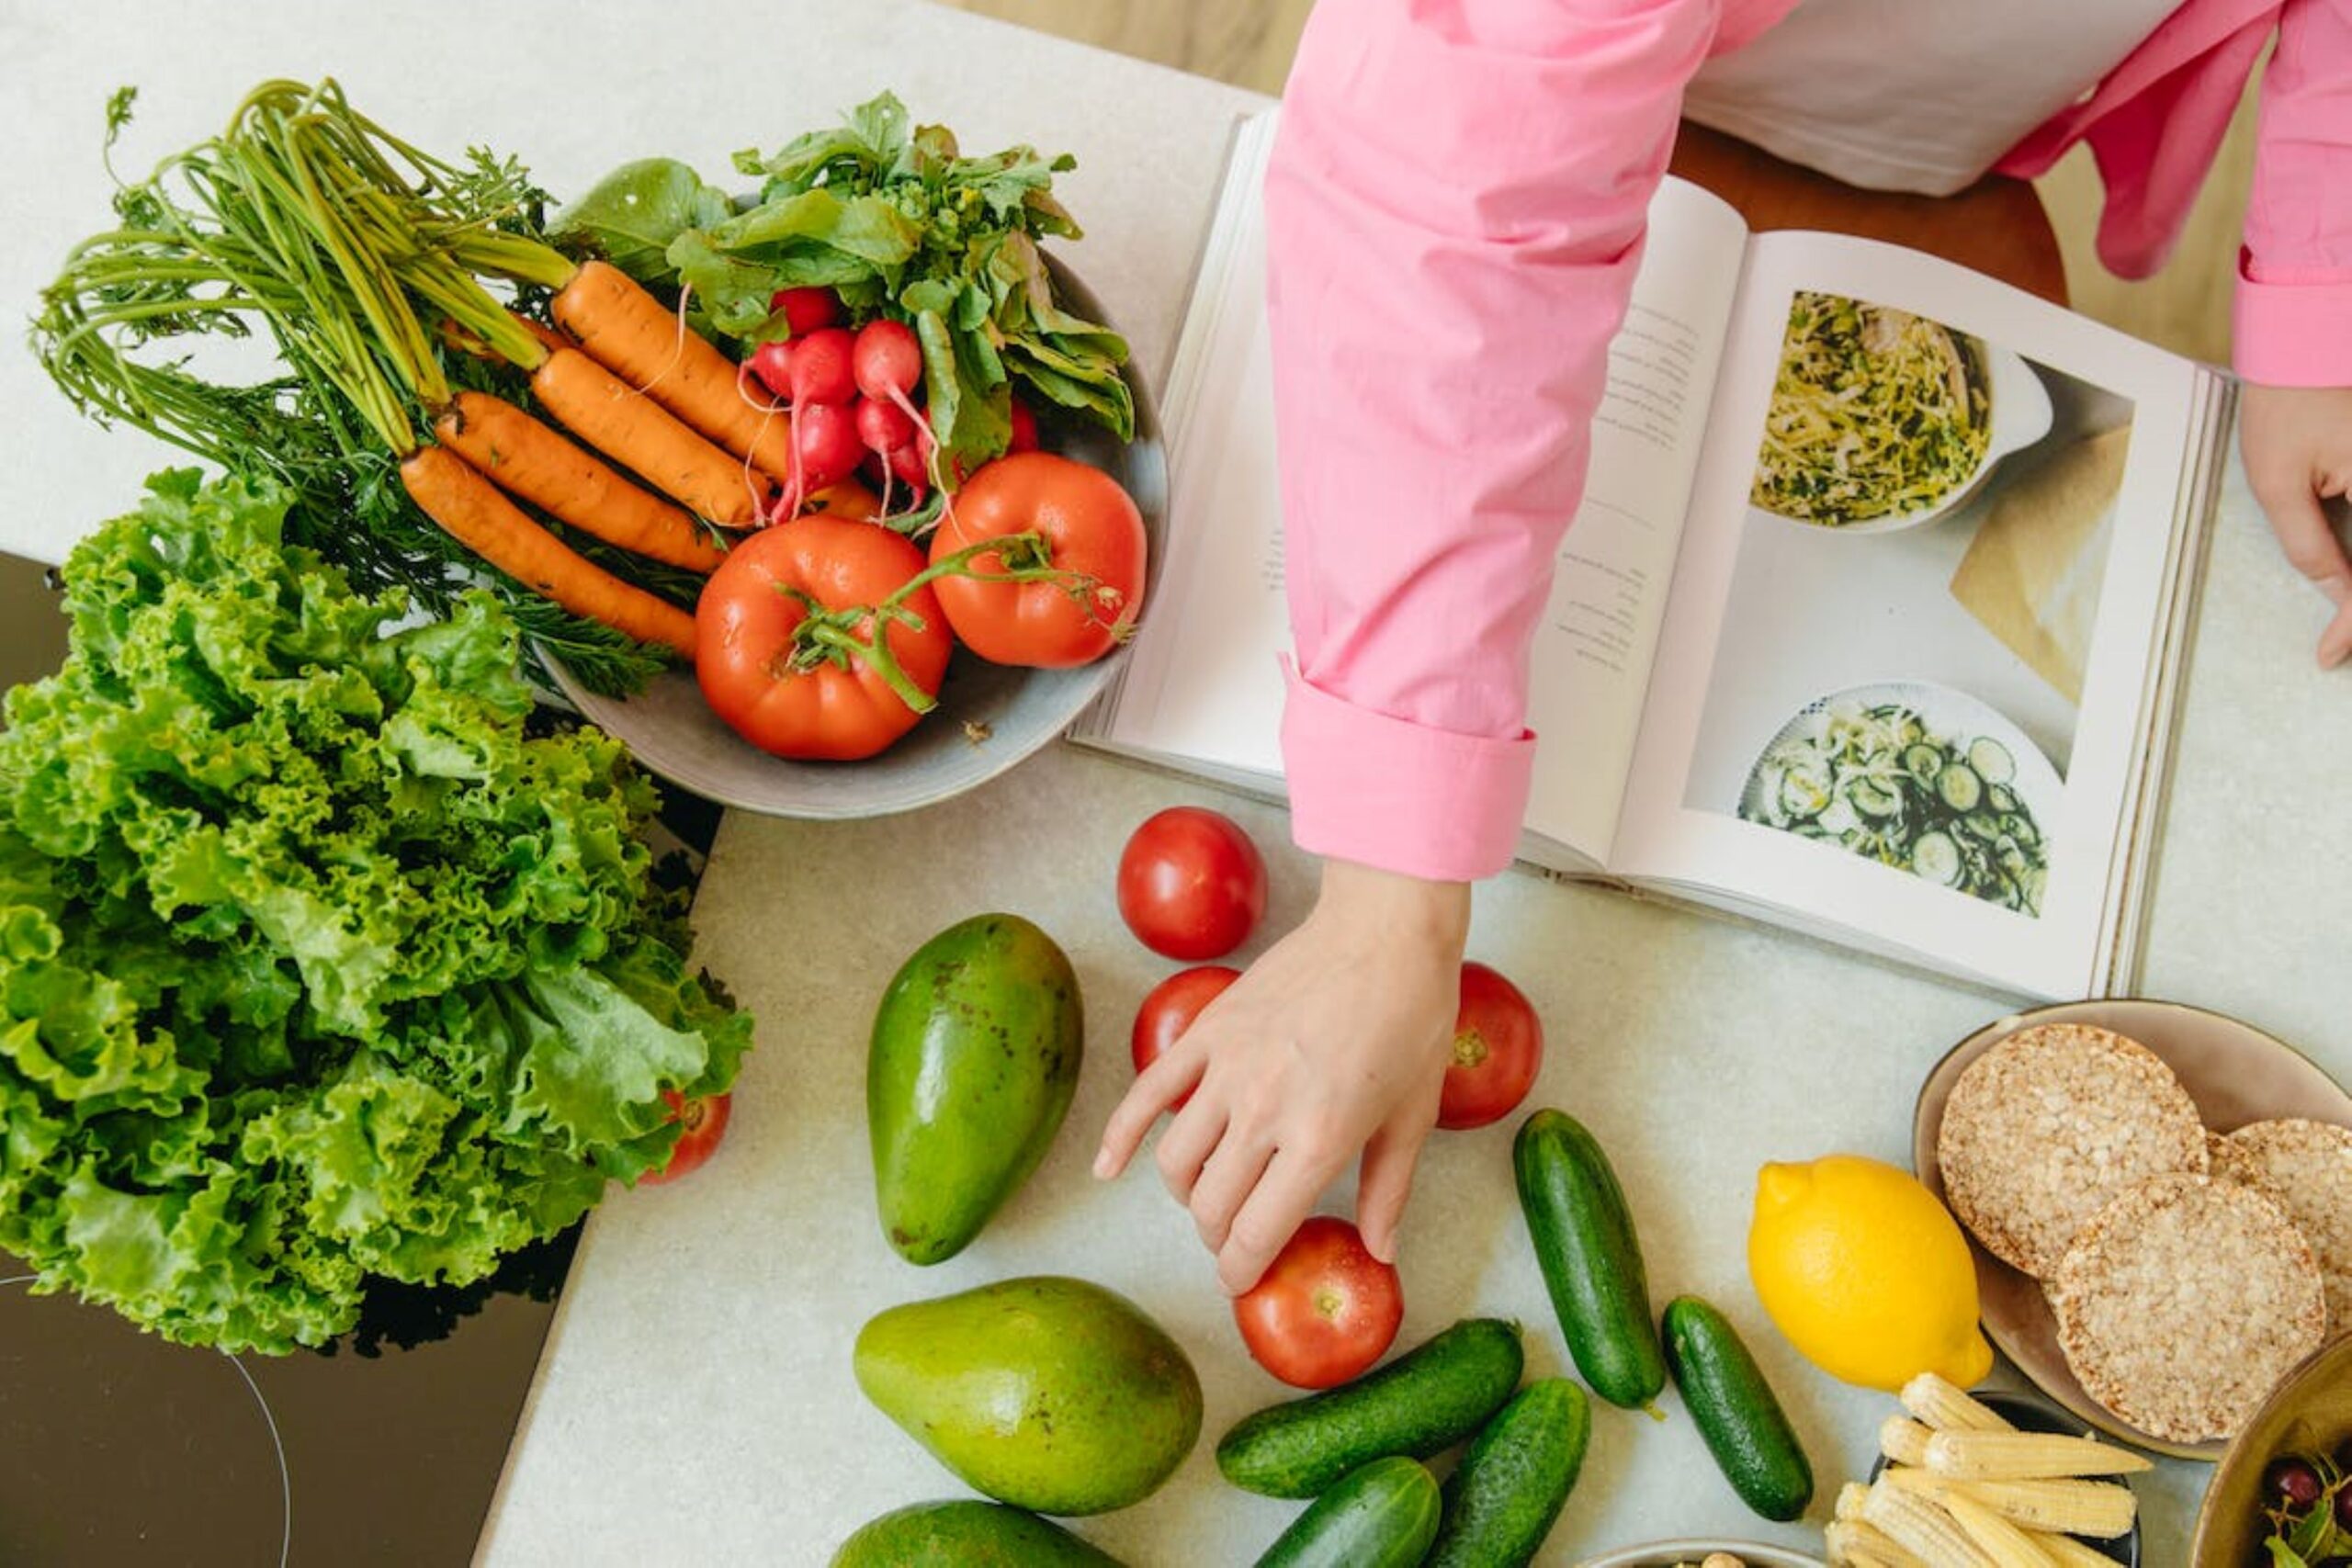
Selecting and Preparing Vegetables
While the chicken is the star, don’t overlook the vegetables. The best vegetables for grilling maintain their structure and develop sweet, caramelized flavors. My favorites include:
- Bell peppers (all colors)
- Zucchini and yellow squash
- Portobello mushrooms
- Red onions
- Asparagus
- Corn on the cob
- Eggplant
I slice most vegetables about ½-inch thick to prevent them from falling through grates. For preparation, a simple toss in olive oil, salt, pepper, and perhaps a touch of balsamic vinegar is all you need. The smoke and char will provide plenty of flavor.
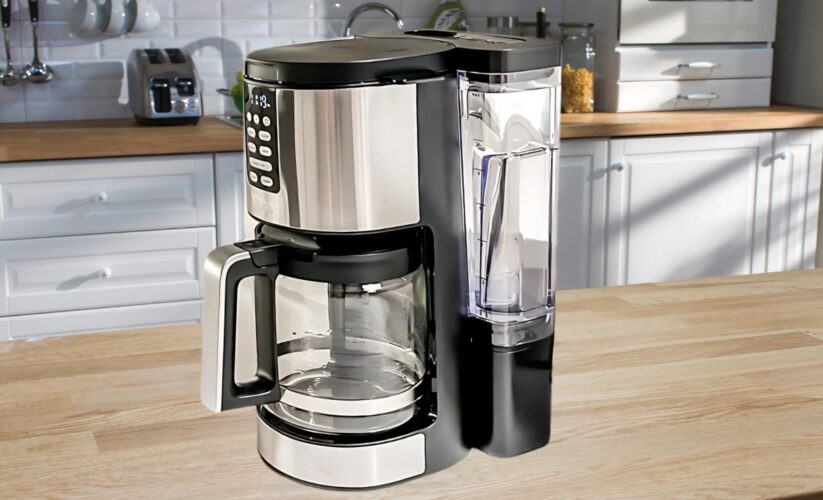
Equipment Matters: The Ninja Grill and Smoker FlexFlame System

- 5-IN-ONE: Grill, smoke, roast, griddle, and make perfect pizzas. (sold separately).
- CYCLONICHEAT-iQ: Faster, even cooking, easier to use, and more flavor. (vs. Weber).
- CYCLONIC FAN: High-velocity convection fan evenly circulates heat and air around food.
- PRECISION BURNER CONTROL: Dial in and maintain an exact temperature from 200°F-600°F.
- PLUG-IN TO POWER: Requires a 3-prong outdoor extension cord and 20lb. propane tank.
| Pros | Cons |
|---|---|
| Versatile 5-in-1 Cooking System – Grill, smoke, roast, griddle, and make pizzas all in one unit. Precision Temperature Control – Maintains exact temperatures from 200°F to 600°F for perfect cooking. Fast & Even Cooking – CyclonicHeat-iQ technology ensures quick, consistent results with great flavor. | Pricey Investment – At $999.99, it’s a premium product that may not fit all budgets. Heavy & Bulky – Weighing 130 lbs, it’s not easily portable for small outdoor spaces. Additional Accessories Sold Separately – Griddle plates and pizza stone must be purchased separately. |
After years of using separate devices for different cooking methods, discovering the Ninja Grill and Smoker FlexFlame Electric and Propane Grill changed my outdoor cooking experience. This 5-in-1 cooking system has become the centerpiece of my backyard culinary adventures, especially when making Smoked BBQ Chicken & Grilled Veggies, and here’s why:
The FlexFlame PG301 combines smoking, grilling, roasting, and even pizza-making capabilities in one stainless steel package. What I particularly appreciate is the 3-burner system with digital controls that allows precise temperature management – critical for proper smoking. Switching between electric and propane options gives me flexibility depending on where I’m cooking.
The integrated smoker box makes adding wood chips simple, while the spacious cooking surface accommodates both my chicken and vegetables simultaneously. When I’m doing larger batches, the multi-level cooking racks come in handy.
For those who entertain frequently, the griddle attachment transforms the unit for breakfast preparations or smash burgers. And I have to mention the pizza stone accessory, which reaches the high temperatures needed for crispy, restaurant-quality crusts.
The Smoking Process: Low and Slow
With my Ninja FlexFlame set up, I begin the smoking process by preheating to 225°F using the digital controls. I add my chosen wood chips to the smoker box – usually a mix of apple and hickory for chicken, as it provides a balance of sweet and robust smoke flavors.
I arrange the chicken pieces skin-side up on the grates, making sure they’re not touching. Then comes the waiting game. Smoking chicken properly requires patience. I smoke at 225-250°F for approximately:
- 1.5-2 hours for bone-in chicken pieces
- 2.5-3 hours for a whole spatchcocked chicken
- 1 hour for boneless breasts
The key indicator isn’t just time but internal temperature. I always use a reliable meat thermometer and look for:
- 165°F for white meat
- 175°F for dark meat
These temperatures ensure food safety while maintaining maximum juiciness.
Finishing Touch: The High-Heat Sear
This is where the FlexFlame system really comes into its own. I increase the grill temperature to 400°F for the final cooking stage, after the chicken gets to about 150°F internally. That crackling, crispy skin is just what you want, with the tender, smoky meat underneath.
This two-stage cooking method is the way to avoid the pitfall of most BBQ chickens: rubbery skin. The high heat finish crisps the exterior, but the initial low temperature smoking develops flavor and cooks the meat gently.
Grilling the Perfect Vegetables
While the chicken rests, I use the still-hot grill to prepare the vegetables. The FlexFlame system allows me to maintain different heat zones, so I can place more delicate vegetables like asparagus in medium heat areas while heartier items like eggplant can go over higher heat.
Typical grilling times for vegetables:
- Bell peppers: 6-8 minutes
- Zucchini/squash slices: 3-4 minutes per side
- Corn on the cob: 10-12 minutes, turning occasionally
- Asparagus: 4-5 minutes
- Portobello mushrooms: 4-5 minutes per side
- Red onion slices: 4-5 minutes per side
- Eggplant: 5-6 minutes per side
I look for light char marks and tenderness without mushiness. Remember that vegetables will continue cooking slightly after being removed from heat.
The Importance of Resting
After removing the chicken from the grill, I tent it loosely with foil and let it rest for 10-15 minutes. This crucial step allows the juices to redistribute throughout the meat instead of running out when cut. The result is noticeably juicier chicken.
While the chicken rests, I finish grilling my vegetables and prepare any accompaniments. My favorite sides with this meal include a simple herb butter for the vegetables and a tangy Alabama white sauce for the chicken, which complements the smoky flavor perfectly.
Serving Suggestions
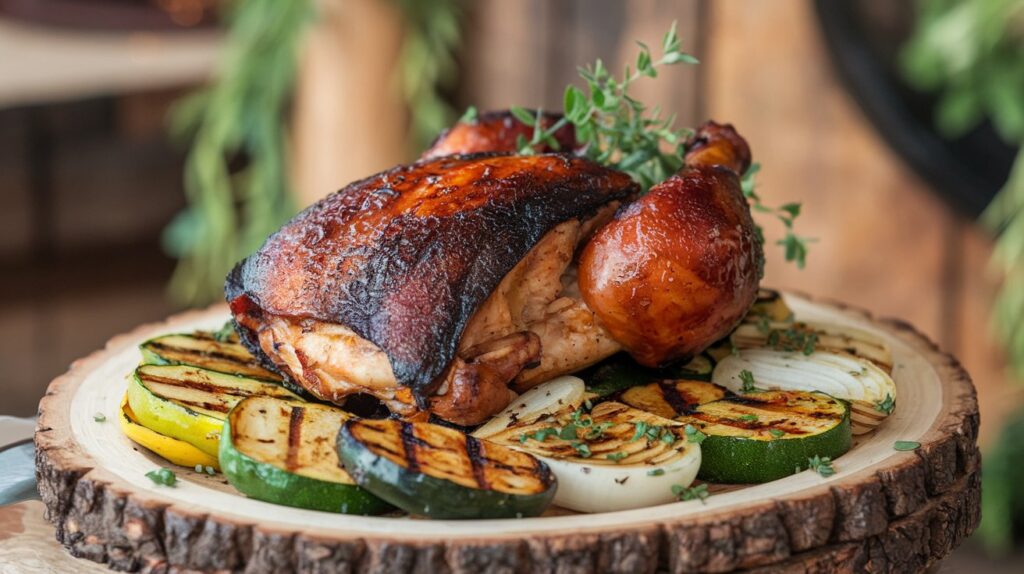
For presentation, I like to arrange the colorful grilled vegetables on a large platter, then place the smoked chicken pieces on top. A sprinkle of fresh herbs like parsley or cilantro adds a pop of color and freshness.
This meal pairs wonderfully with:
- A crisp summer wheat beer or IPA
- Chilled rosé wine
- Sparkling lemonade for non-alcoholic options
- A side of tangy coleslaw
- Warm cornbread with honey butter
Storing and Repurposing Leftovers
If you’re lucky enough to have leftovers, properly stored smoked chicken will keep in the refrigerator for 3-4 days. I find the smoky flavor actually intensifies overnight, making next-day meals even more delicious.
My favorite ways to repurpose leftover smoked chicken include:
- Smoked chicken salad with grapes and walnuts
- BBQ chicken quesadillas
- Smoky chicken and vegetable soup
- Loaded BBQ chicken nachos
- Chopped salad with smoked chicken and grilled vegetables
Why the Ninja FlexFlame System Makes the Difference
Throughout this process, the versatility of the Ninja Grill and Smoker FlexFlame system proves invaluable. The precision temperature control allows for the perfect smoke, while the multiple cooking surfaces and methods mean I can prepare the entire meal on one device—including Smoked BBQ Chicken & Grilled Veggies to perfection.
Its 5-in-1 functionality (smoking, grilling, roasting, griddle cooking, and pizza making) means I’m not limited to just BBQ. The ability to switch between electric and propane also gives me options depending on convenience or the flavor profile I’m seeking.
For those considering an upgrade to their outdoor cooking setup, the PG301 model offers exceptional versatility without sacrificing performance in any single cooking method. The digital control system makes maintaining consistent temperatures effortless, which is particularly important for successful smoking.
What I particularly love about the FlexFlame is how it simplifies the entire cooking process. Before investing in this system, I was constantly moving between different appliances, which not only took up valuable patio space but made temperature management a real challenge. Now, I can smoke my chicken, grill my vegetables, and even toast my cornbread all on the same unit with precise control.
The system’s durability is also worth mentioning. After two years of regular use in all weather conditions, mine still performs like new. The stainless steel construction has proven resistant to the elements, and the digital components have remained reliable despite exposure to heat, smoke, and occasional light rain.
For beginners intimidated by smoking, the FlexFlame’s user-friendly interface removes much of the guesswork. The digital temperature readout and straightforward controls mean you’re not constantly adjusting vents or worrying about maintaining your fire. This reliability has given me the confidence to experiment with different techniques and recipes.
Conclusion
Mastering smoked BBQ chicken & grilled veggies has been a journey of discovery for me, one filled with delicious experiments and occasional learning experiences. The combination of tender, smoke-infused chicken with caramelized vegetables creates a meal that’s both impressive and satisfying.
Having the right equipment, particularly a versatile system like the Ninja Grill and Smoker FlexFlame, removes many of the common barriers to successful outdoor cooking. Its ability to maintain consistent temperatures, provide various cooking surfaces, and offer multiple cooking methods in one unit has elevated my results considerably.
Remember that great BBQ is about patience just as much as technique. Take your time, monitor your temperatures, and don’t rush the process. The rewards of perfectly smoked chicken – that beautiful smoke ring, the tender texture, and the complex flavor profile – are well worth the wait.
I hope this guide inspires you to create your own smoked BBQ chicken and grilled vegetable feast. Whether you’re cooking for a weekend family dinner or entertaining friends, this combination is sure to impress and satisfy.
Frequently Asked Questions
1. How do I know when my smoked chicken is done without a meat thermometer?
While I strongly recommend using a thermometer for accuracy, you can also check doneness by piercing the thickest part of the meat near the bone. The juices should run clear with no pinkness. For dark meat, you should feel little resistance when piercing, and the meat should start to pull away from the bone.
2. Can I use the Ninja FlexFlame system in rainy weather?
Yes, but with precautions. The electrical components should be protected from direct rain. I often set up a small canopy over the grill during questionable weather. The unit itself handles temperature fluctuations well, but extreme weather conditions can affect cooking times and fuel efficiency.
3. Which wood chips provide the mildest smoke flavor for chicken?
Fruit woods like apple, cherry, and peach provide the mildest, sweetest smoke profiles ideal for chicken. If you’re new to smoking or prefer subtle smoke flavor, apple is particularly good. Avoid strong woods like mesquite or hickory until you’ve developed your preferences, as they can overpower chicken.
4. How can I prevent vegetables from falling through the grill grates?
I use several approaches: cutting vegetables in larger pieces (at least ½-inch thick), using a grill basket for smaller items like cherry tomatoes or chopped vegetables, laying delicate vegetables perpendicular to the grates, or using skewers for small pieces.
5. Can I smoke chicken and vegetables simultaneously on the Ninja FlexFlame?
Absolutely! This is one of the advantages of the system’s spacious cooking area and multi-zone heating capability. I typically place the chicken on one side using indirect heat for smoking, while keeping space on the other side for vegetables. Since vegetables generally require less cooking time, I usually add them during the latter part of the chicken’s cooking process.
Last update on 2026-02-27 / Affiliate links / Images from Amazon Product Advertising API
*We may earn a commission for purchases made using our links. Please see our disclosure to learn more.