Low-Carb Ninja Foodi Meals Prep for the Week
It has been a challenge to cook healthy meals while juggling a busy schedule, but the Ninja Foodi has been a game changer for my low carb lifestyle. This appliance has greatly improved my meal prep workflow and I have been able to prepare a week’s worth of healthy, low carb meals in just a few hours with the help of this versatile appliance.
After using and experimenting with countless kitchen gadgets, I have found that the Ninja Foodi with its pressure cooking, air frying and other features is perfect for low-carb Ninja Foodi meals. Whether you are on keto diet, trying to control your blood sugar, or just want to cut down on carbs for better health, this all-in-one appliance makes the whole process easier and faster.
In this guide, I will be sharing with you my go-to strategies, favorite recipes and must-have accessories that will help you get the most out of your Ninja Foodi for healthy and easy meals.
Key Takeaways
- Time Efficiency: It can cut meal prep time by almost 60% if you are well-accustomed to using all the cooking functions of the Ninja Foodi.
- Batch Cooking Mastery: You will be able to prepare multiple components at once using the pressure cooker, air fryer, and accessories that are provided.
- Macronutrient Control: Find out how to accurately portion and track macros for the week using specific meal prep containers.
- Recipe Versatility: Discover how to turn one base protein into six different meals for the week. Food Safety: Learn the right way to chill, store and reheat low carb foods to avoid any risks of contamination and to preserve the taste.
Recommended Products for Low-Carb Ninja Foodi Meals Prep
1. Ninja Foodi 9-in-1 Digital Air Fry Oven
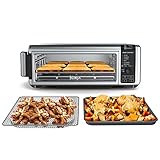
- DIGITAL CRISP CONTROL TECHNOLOGY: Precision-controlled temperature, heat source, and airflow for ultimate versatility and optimum cooking performance.
- 8-IN-1 VERSATILITY: The ultimate meal-making machine with 8-in-1 functionality: Air Fry, Air Roast, Air Broil, Bake, Bagel, Toast, Dehydrate, and Keep Warm all in one powerful, 1800-watt appliance. The height of the interior of this machine is approximately 3″.
- LESS FAT: Eat all of your air fried favorites guilt-free with up to 75% less fat when using the Air Fry function vs. traditional deep frying. Tested against hand-cut, deep fried French Fries.
| Pros | Cons |
|---|---|
| Versatile Cooking: 8-in-1 functionality allows you to air fry, bake, toast, and more in one appliance. Space-Saving Design: Flip-up feature helps reclaim counter space when not in use. Fast & Efficient: Cooks up to 60% faster than a traditional oven with a 60-second preheat. | Limited Interior Height: Only about 3 inches tall, making it difficult to cook larger items. Small Air Fry Basket: May not hold large portions, limiting batch cooking. Exterior Gets Hot: The unit can become very warm during use, requiring caution. |
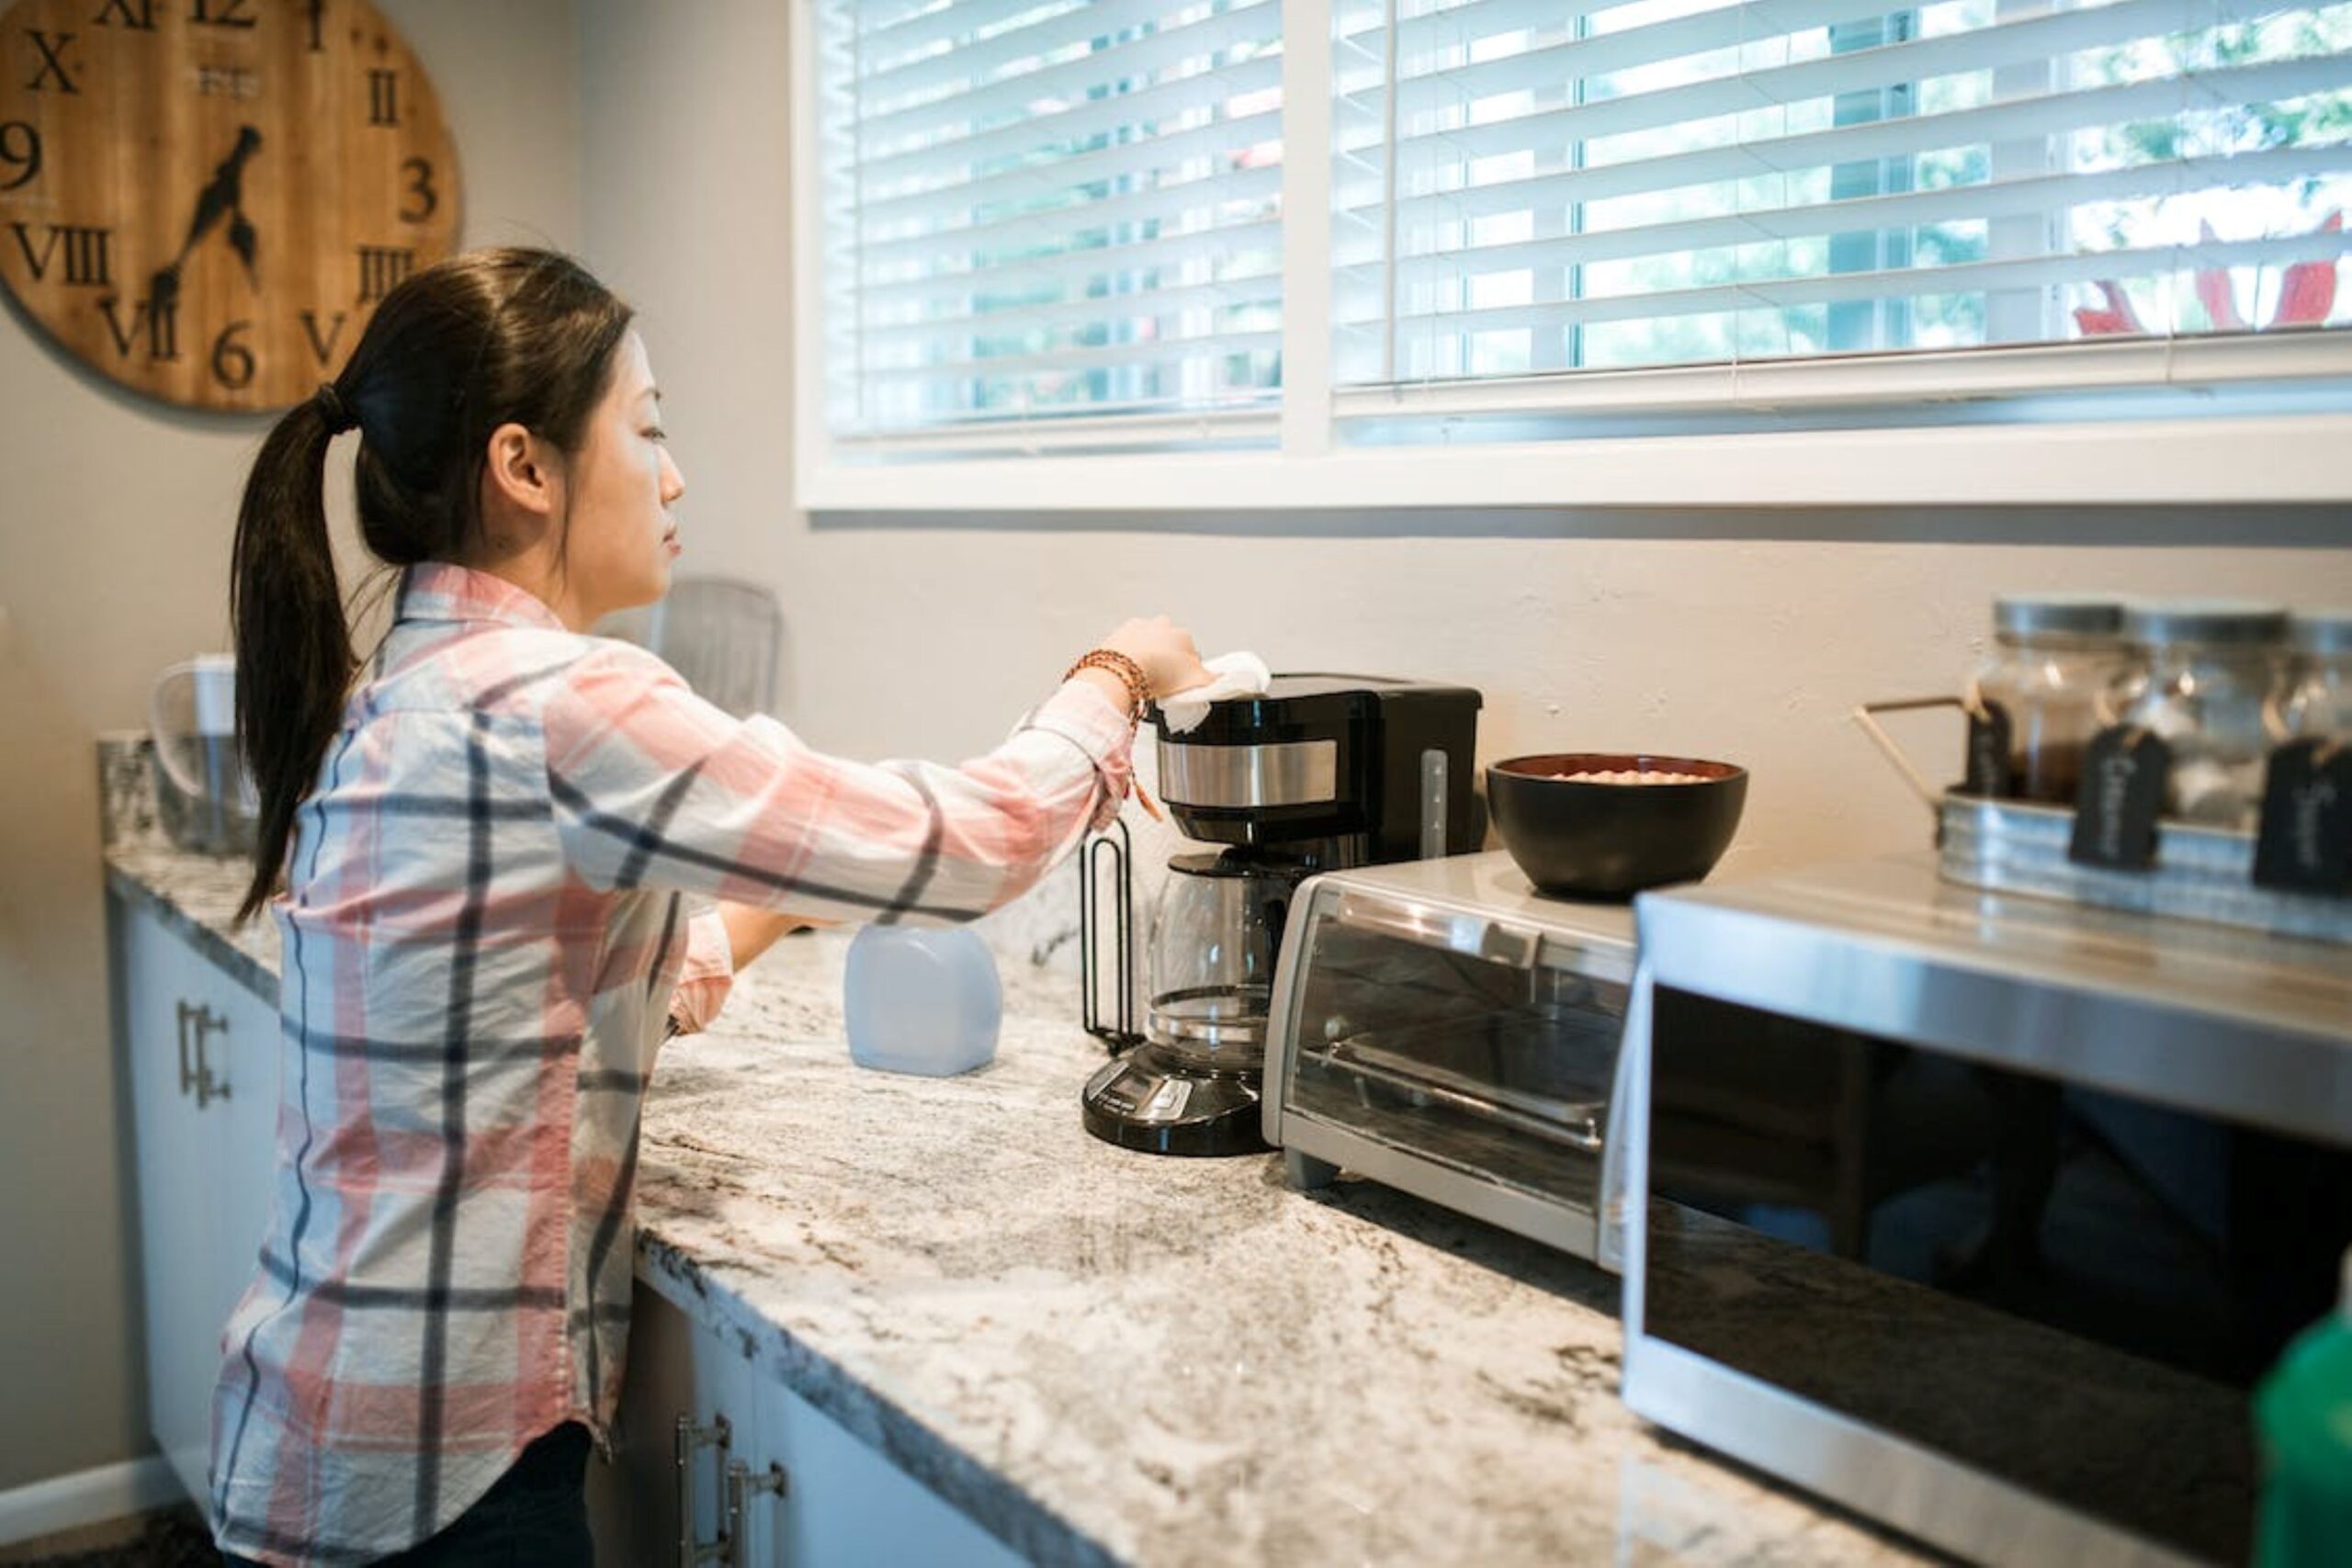
This Ninja Foodi model has become my go-to for meal prepping multiple servings of protein and vegetables simultaneously, and it’s compact yet powerful. Its spacious interior can hold large sheet pans, and the digital controls make setting the temperature and time precise and easy. The air fry function of it gives crispy vegetables and perfectly cooked meats without frying them in oil, which is very important in low carb cooking where every gram of macronutrients count.
Because I find the preheat time to be incredibly quick, usually under 60 seconds, which allows me to quickly move through multiple batches of food during my meal prep sessions. The crumb tray is removable and there is an interior light which are small but helpful features when it comes to cleaning and keeping an eye on food, while during marathon prep sessions.
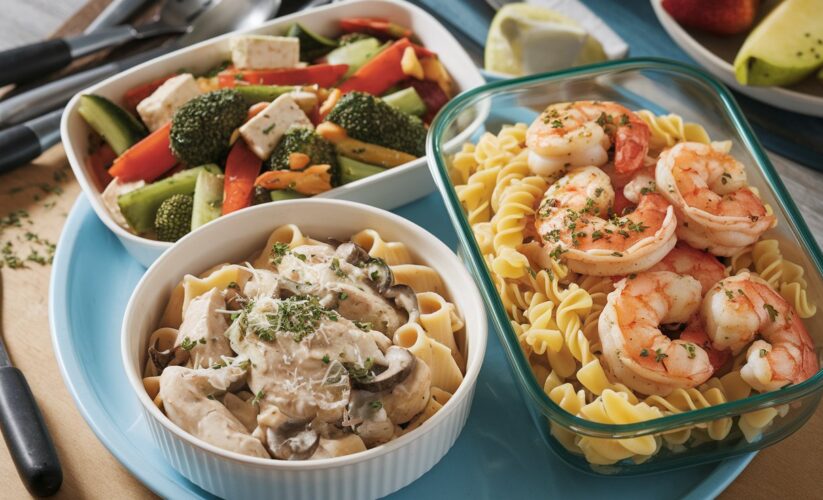
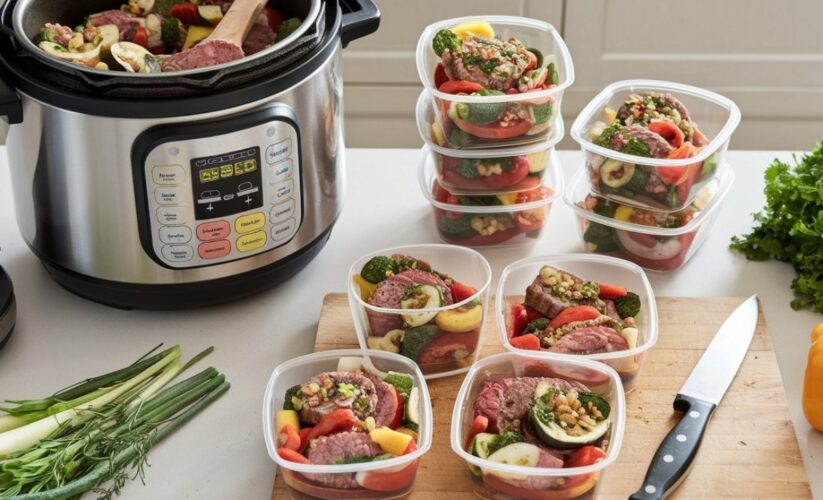
2. Meal Prep Containers – Glass 3-Compartment Food Storage Set

- HIGH QUALITY GLASS MATERIAL: Glass meal prep containers are made of high quality borosilicate glass, for oven, microwave, dishwasher and freezer. Stronger than cheaper glass food storage containers, food can be stored in glass containers directly after cooking. The containers are versatile to meet your everyday food storage needs, perfect for prep meals at home or whatever you need for the occasion.
- 3 Compartment Glass Lunch Containers: This glass storage containers set includes 5 packs 36oz containers for meal prep, office lunches, leftovers, portion control, bringing to the gym, picnics, travel and more. Glass lunch containers with locking lids. They stack together and take up less space.
| Pros | Cons |
|---|---|
| Durable Glass Material: Made of high-quality borosilicate glass, safe for oven, microwave, freezer, and dishwasher. Airtight & Leakproof: BPA-free snap-lock lids prevent spills and keep food fresh. 3-Compartment Design: Ideal for portion control and meal prepping. | Lids Not Heat-Safe: Must be removed before microwaving or placing in the oven. Heavier Than Plastic: May not be as portable for on-the-go meals. Limited Lid Durability: Some users report lids wearing out over time. |
This is important on a low carb diet, portion control. I have changed the way I store my prepared meals with these glass containers that have three compartments each. The glass is clear which gives a clear view of the contents and the compartments are to prevent color fusion and to set nutrient ratios.
Plastic alternatives stink, and stain, which is a problem when you are storing foods with a lot of flavor, like garlic or spices, that are common in low carb cooking. The food stays fresh for the whole week in the airtight lids, and the microwave and dishwasher safe features are very convenient for the reheating and cleaning processes of my schedule.
3. Keto-Mojo GK+ Blood Glucose & Ketone Testing Kit

- Advanced Dual Testing for Glucose & Ketones: Monitor both glucose and ketone levels with the Keto-Mojo GK+ Bluetooth Meter. Clinically validated for accuracy, this meter is trusted by healthcare professionals and used in over 100 clinical trials. Perfect for ketogenic, low-carb, and diabetes-focused lifestyles.
- Seamless App Integration – Track Your Health: Sync results effortlessly with the free MyMojoHealth app. Monitor your Glucose Ketone Index (GKI), track trends, and share your data with doctors or health coaches. Compatible with Apple Health, Cronometer, and Carb Manager.
| Pros | Cons |
|---|---|
| Dual Testing: Measures both glucose and ketones for better metabolic insights. Bluetooth Integration: Syncs with a free app to track and analyze readings easily. Expert-Recommended: Trusted by keto professionals and backed by a lifetime warranty. | Test Strips Can Be Pricey: Requires ongoing purchases of glucose and ketone strips. Initial Learning Curve: May take time to understand readings and optimal usage. Requires Finger Pricking: Not as convenient as non-invasive glucose monitors. |
In relation to cooking, this testing kit has been very helpful to me in understanding the impact that my Ninja Foodi meal prep has on my body. Glucose and ketone levels can be checked to help fine tune recipes and portion sizes to fit a low carb or ketogenic lifestyle better.
Linked to a smartphone app, the device monitors readings over time and provides me with important information on how particular meals affect my metabolism. This data-driven approach has enabled me to personalize my meal prep according to my body’s unique responses, enhancing my health metrics and energy levels throughout the week.
4. Ninja Foodi Deluxe XL Pressure Cooker Accessory Pack
No products found.
| Pros | Cons |
|---|---|
| Versatile: 12 cooking functions replace multiple appliances. Large Capacity: 8-quart pot and 5-quart crisper basket for family meals. TenderCrisp Technology: Pressure cook and air fry for crispy, juicy results. | Bulky: Takes up counter space and is heavy to move. Plastic Build: Some may prefer stainless steel construction. Expensive: Costs more than single-purpose appliances. |
This accessory pack has increased my low-carb Ninja Foodi meals prep capabilities to the point where I can hardly consider cooking without it. The multi-purpose rack lets me cook different foods at the same time, think pressure cooking chicken below while steaming vegetables above. The silicone mitts make it safe to handle hot components, and the extra silicone egg molds are great for making high-protein, low-carb breakfast options that are portable.
The stainless steel vegetable steamer, I have found to be quite useful in preparing large batches of low carb vegetables without sacrificing nutrients or turning them mushy. In effect, these accessories turn one Ninja Foodi into several cooking stations, which is very helpful in terms of time and cleanup when doing intensive meal prep.
The Art and Science of Low-Carb Ninja Foodi Meal Prep
Understanding the Ninja Foodi’s Potential for Low-Carb Cooking
The potential of the Ninja Foodi for low carb cooking techniques seems to be quite understood. This is because the Foodi has a versatile feature that enables it to perform several functions as opposed to conventional methods which may require the use of other appliances. This consolidation also saves on counter space and more importantly, the time it takes to prepare a week’s worth of meals is greatly reduced.
At first, when I decided to go on a low carb diet, I was tired of boring meals as it could be. This is where the Foodi came in to help me diversify my cooking techniques, from pressure cooking tough cuts of meat to air frying that crisp without the breading. The temperature precision also helps me get the fats to render correctly, and also to develop flavors like searing and roasting for those important low carb meals.
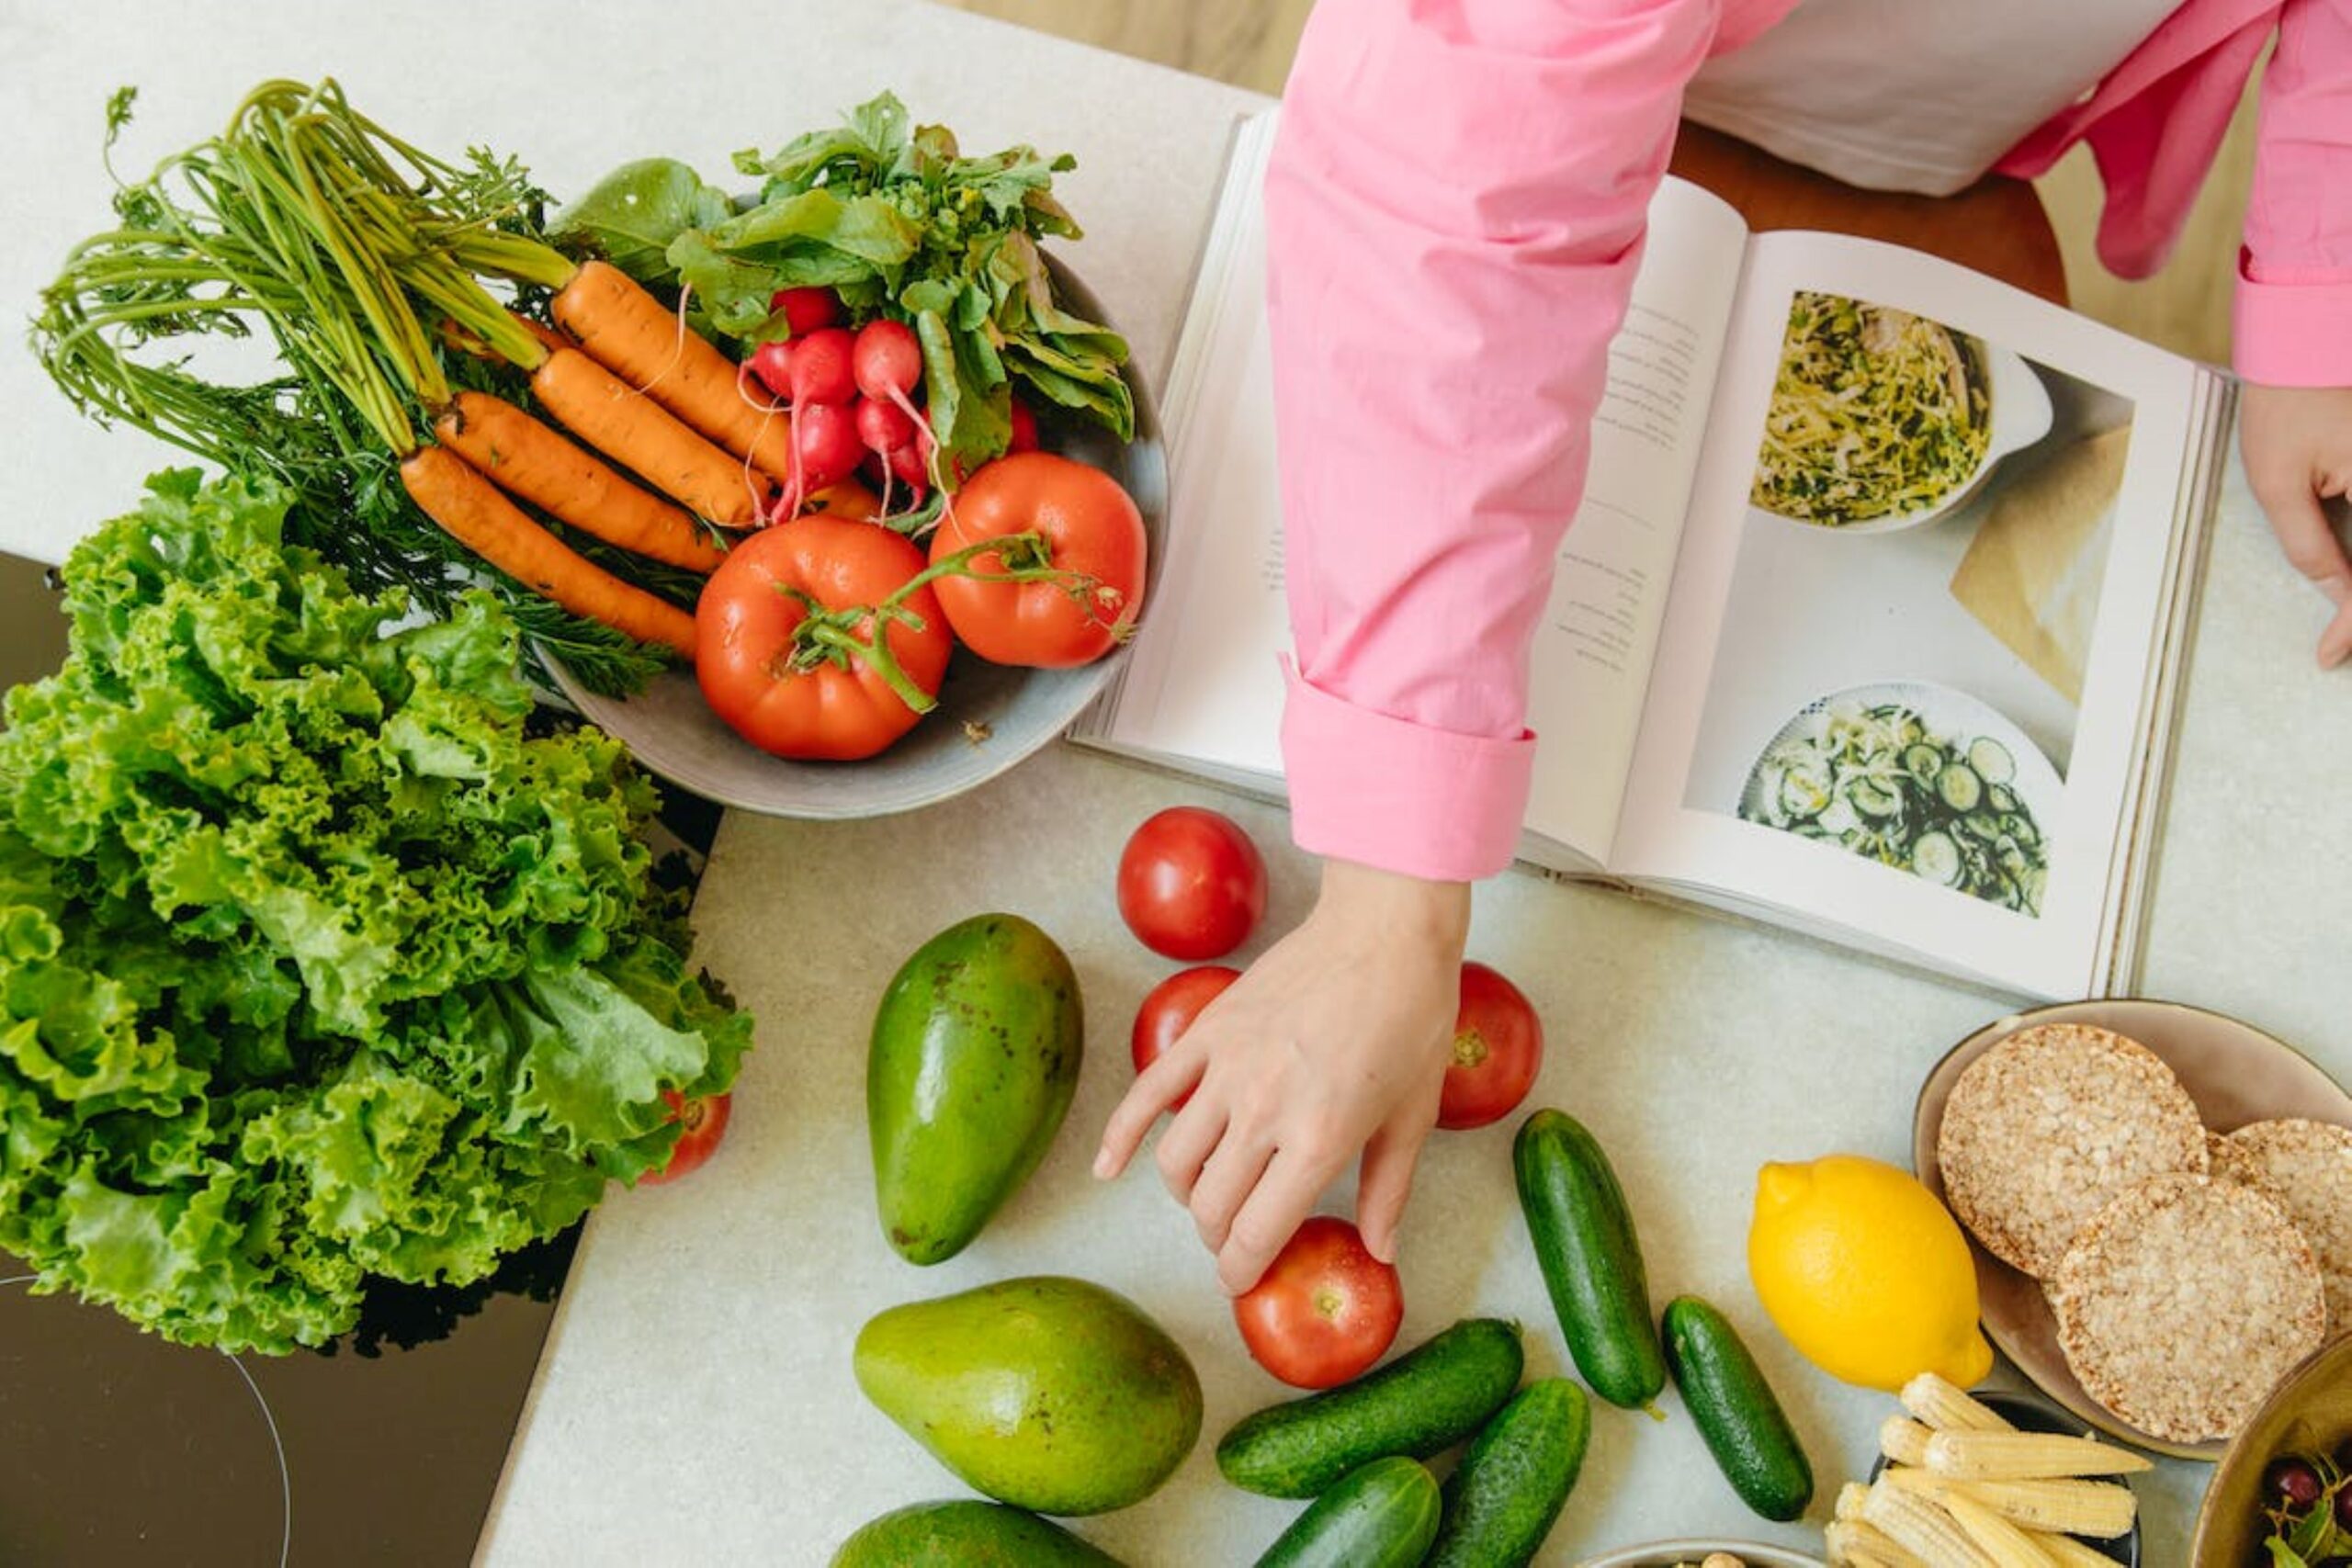
Planning Your Weekly Low-Carb Menu
Successful meal prepping begins with thoughtful planning. I typically follow a formula for each meal to ensure variety, balance, and efficiency when preparing low-carb Ninja Foodi meals.
- 1 protein source (4-6 oz)
- 2 low-carb vegetables (1-2 cups total)
- 1 healthy fat source
- Herbs, spices, and low-carb sauces for variety
When designing my weekly menu, I consider:
- Ingredient overlap to reduce waste
- Cooking methods that can be batched together
- Macronutrient balance across the week
- Food that maintains quality after refrigeration
For instance, I would choose chicken thighs as my main protein since I can use it in various ways, shredded in pressure cooked chicken salads and air fried with different seasonings as part of the main dish. It also helps avoid shopping for too many ingredients and reduces the time spent on preparation.
Essential Techniques for Batch Cooking
The pressure cooking function is my personal trick to prepare the proteins which are usually boiled for a long time. This way, using just 25 minutes, I can boil 3-4 pounds of chicken thighs or a beef chuck roast which would have otherwise taken hours. It becomes my protein base for several meals.
In the meantime, while the pressure cooker does its work, I chop the vegetables for air frying or roasting. The Foodi is able to switch between functions quickly, so I can pressure cook proteins, then use the air fryer lid to crisp vegetables, or even the same proteins for textural contrast.
I’ve developed a timing strategy that maximizes efficiency:
- Start with longer-cooking items in the pressure cooker
- Prepare vegetables while proteins cook
- Use the air fryer function for vegetables and finishing touches
- Cool all components properly before assembling meals
This approach typically allows me to prepare 5-6 days of meals in under three hours.
Low-Carb Food Safety Considerations
Food safety becomes particularly important when preparing meals days in advance. Low-carb meals often contain higher percentages of proteins and fats, which require careful handling. I follow these guidelines:
- Cool cooked foods to room temperature within 2 hours
- Refrigerate in shallow containers to ensure quick cooling throughout
- Store meals at or below 40°F (4°C)
- Use prepared meals within 4 days, or freeze for longer storage
- Reheat to an internal temperature of 165°F (74°C)
I’ve found that certain low-carb vegetables like cauliflower and broccoli maintain better texture when slightly undercooked during meal prep, as they’ll continue cooking during reheating.
Signature Low-Carb Ninja Foodi Recipes
Pressure Cooked Shredded Chicken Base
This versatile protein base transforms into multiple meals throughout the week.
Ingredients:
- 3 lbs boneless, skinless chicken thighs
- 1 cup chicken broth
- 2 tbsp olive oil
- 2 tsp garlic powder
- 2 tsp onion powder
- 1 tsp paprika
- Salt and pepper to taste
Instructions:
- Place all ingredients in the Ninja Foodi pot
- Pressure cook on high for 15 minutes
- Natural release for 10 minutes, then quick release
- Shred chicken and portion for different meals
This base can become salad toppers, stuffed into bell peppers, or mixed with low-carb vegetables for complete meals.
Air Fryer Cauliflower Rice Medley
This side dish complements any protein and stays fresh all week.
Ingredients:
- 2 bags frozen cauliflower rice (about 6 cups)
- 3 tbsp olive oil
- 1 bell pepper, diced
- 1/2 red onion, finely chopped
- 2 cloves garlic, minced
- 1 tbsp Italian seasoning
- Salt and pepper to taste
Instructions:
- Thaw and drain cauliflower rice thoroughly (crucial for proper texture)
- Combine all ingredients in a large bowl, mixing well
- Spread mixture evenly in the air fryer basket
- Air fry at 380°F for 15-18 minutes, stirring halfway through
The air frying process removes excess moisture and creates a more rice-like texture than traditional methods.
Ninja Foodi Egg Bites
These grab-and-go breakfast options ensure I start each day with proper nutrition.
Ingredients:
- 8 large eggs
- 1/4 cup heavy cream
- 1 cup shredded cheese (I prefer a mix of cheddar and Gruyère)
- 1/2 cup cooked spinach, water squeezed out
- 1/4 cup diced bell peppers
- 1/4 cup crumbled bacon or diced ham
- Salt, pepper, and herbs to taste
Instructions:
- Blend eggs, cream, and seasonings until smooth
- Fold in remaining ingredients
- Pour into silicone egg molds
- Add 1 cup water to Ninja Foodi pot
- Place filled molds on the rack inside the pot
- Pressure cook on low for 8 minutes
- Quick release and allow to cool before refrigerating
These egg bites reheat beautifully in 30 seconds in the microwave, providing protein and healthy fats with minimal carbs.
Strategic Storage for Maximum Freshness
How you store your prepared meals makes a big difference in taste and texture throughout the week. I structure my refrigerator with meals in chronological order with Monday and Tuesday meals at the front. I store sauces or dressings separately in small containers to prevent sogginess.
This is a relatively small extra step that makes a big difference in meal quality by day 4 or 5. I also use a partial prep method for some vegetables that don’t store well when fully cooked. I pre-cut the zucchini noodles, but I keep them raw, and then quickly sauté them the night before consuming. It takes minimal time, but it produces the best texture.
Conclusion: Sustainable Low-Carb Living Through Smart Meal Prep
The Ninja Foodi has changed my life with low carb dieting. What was once a boring diet that limited me to boring and boring foods is now a healthy way of living that offers so many choices. With the help of this appliance and some meal prep tips I have been able to manage my time and food habits even during the most hectic of work weeks.
The time I spend on preparing the meals on Sunday afternoon is worth it as I get to experience numerous benefits during the week: less decision making, no messy cooking during the week, better portion control, and less spending on groceries due to reduced food wastage. Moreover, the availability of ready-to-eat meals has helped me stay away from eating foods that are high on carbs when I am hungry and have no time to cook or buy something.
If you are thinking of making changes to your diet and following a low carb diet or if you are looking for ways to continue with it, then I strongly suggest low-carb Ninja Foodi meals prep. You can begin with the basics mentioned here and expand on them as you learn what works for you and what doesn’t according to your taste and nutritional requirements. The steep learning curve is well worth it for a smooth operating system that can help achieve health and fitness objectives alongside the challenges of the modern world.
Frequently Asked Questions
1. How long do low-carb meals prepped in the Ninja Foodi typically last in the refrigerator?
When properly cooled and stored in airtight containers, most low-carb meals prepared in the Ninja Foodi will maintain quality and safety for 4-5 days in the refrigerator. Certain ingredients like seafood have a shorter shelf life (2-3 days maximum). For longer storage, many of these meals can be frozen for up to 3 months without significant quality loss.
2. Can I use the Ninja Foodi to prepare keto-friendly desserts during my meal prep sessions?
Absolutely! The Ninja Foodi excels at preparing keto-friendly desserts, particularly with the bake or air fry functions. I regularly prepare almond flour muffins, cheesecake bites, and other low-carb treats during my meal prep sessions. The precision temperature control helps prevent burning of alternative flours like almond and coconut, which can be tricky in conventional ovens.
3. How do I prevent low-carb vegetables from becoming soggy by the end of the week?
This is a common challenge with meal prepping vegetables. I’ve found three effective strategies: First, slightly undercook vegetables that will be reheated later. Second, use the air fryer function to remove excess moisture during cooking. Finally, store vegetables separately from proteins with sauces when possible. For cruciferous vegetables like broccoli or cauliflower, adding a small paper towel to the container can absorb excess moisture during storage.
4. Is it cost-effective to use the Ninja Foodi for low-carb meal prepping compared to other methods?
In my experience, using the Ninja Foodi for meal prepping has significantly reduced my food budget, despite the initial investment in the appliance. This comes from three main factors: reduced food waste through better planning and storage, lower utility costs compared to using multiple appliances or a full-sized oven, and decreased reliance on expensive takeout or restaurant meals. Additionally, the time savings allow me to purchase less-processed ingredients and prepare them myself, which typically costs less than pre-prepared low-carb specialty foods.
5. How do I avoid menu fatigue when meal prepping low-carb foods for an entire week?
Menu fatigue is a real challenge with any meal prep routine. My most successful strategy has been the “base component method,” where I prepare versatile protein bases that can be finished differently throughout the week. For example, a neutral-seasoned shredded chicken can become buffalo chicken with blue cheese one day, and chicken verde with avocado the next. Additionally, incorporating a variety of international flavor profiles through spice blends and sauces keeps meals interesting while maintaining low-carb macros. Finally, I designate one meal mid-week as a “fresh prep” meal to break up the routine while still staying on plan.
Last update on 2026-07-24 / Affiliate links / Images from Amazon Product Advertising API
*We may earn a commission for purchases made using our links. Please see our disclosure to learn more.