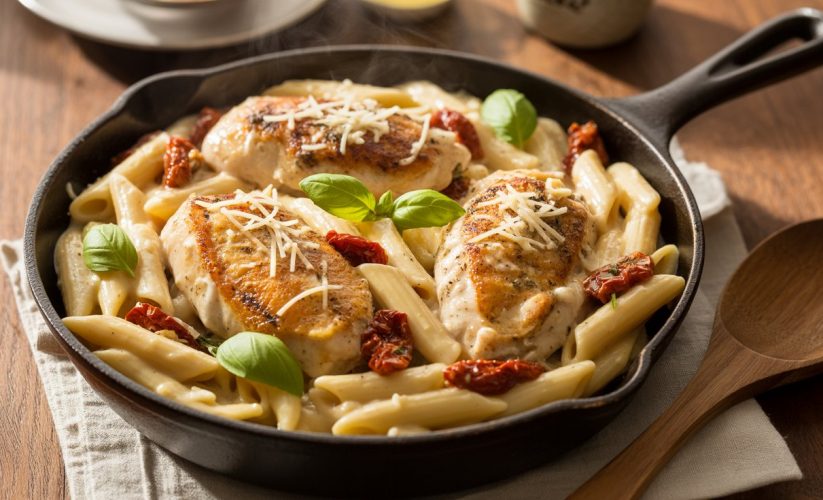
Marry Me Chicken Pasta (Ninja Foodi One-Pot)
Marry Me Chicken Pasta has quickly become one of the most viral comfort food recipes across the United States, especially among home cooks looking for rich, restaurant-quality meals made in a single pot. Traditionally known for its creamy garlic sauce, sun-dried tomatoes, tender chicken, and parmesan finish, this dish has evolved into an even more convenient version through the use of multi-functional appliances such as the Ninja Foodi.
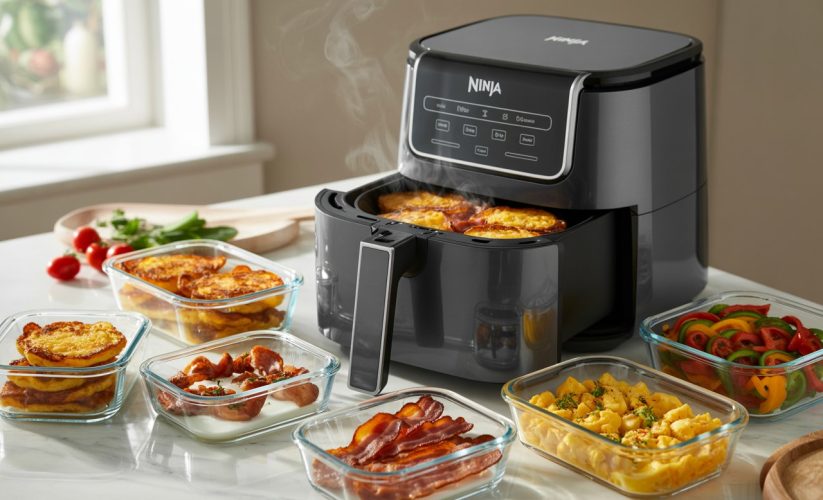
With growing demand for weeknight dinners that are both satisfying and time-efficient, one-pot meals have gained significant traction in recent years. The Ninja Foodi offers pressure cooking, sautéing, and slow cooking capabilities in one appliance, making it an ideal tool for preparing creamy pasta dishes without the need for multiple pans or extensive cleanup.
This Ninja Foodi Marry Me Chicken Pasta recipe transforms a once stovetop-heavy dish into a streamlined, hands-off cooking experience while preserving the bold flavors and indulgent texture that made it popular. The result is a creamy, savory pasta meal that delivers depth, warmth, and convenience in under an hour.
“One-pot meals continue to trend as home cooks seek faster, more convenient comfort food options that reduce cleanup without sacrificing flavor.”
Source: Consumer cooking trend reports on multi-cooker usage in North America
Key Takeaways
- Marry Me Chicken Pasta can be prepared entirely in one Ninja Foodi pot
- Pressure cooking helps infuse pasta with deeper flavor
- The dish combines creamy garlic sauce with sun-dried tomatoes
- Ideal for weeknight dinners or meal prep
- Minimal cleanup due to one-pot cooking method
- Adaptable for low-carb or gluten-free variations
- Ready in approximately 30 to 40 minutes

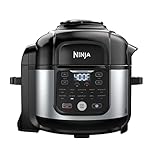
- NINJA FOODI SMART XL GRILL: Updated, sleek design with the same functions & benefits. Indoor countertop Grill and Air Fryer with the Smart Cook System & Thermometer.
- SMART COOK SYSTEM & THERMOMETER: The Foodi Smart Thermometer enables you to achieve the perfect doneness, from rare to well-done with 4 protein settings & 9 customizable doneness levels. Do it at the touch of a button with no more guesswork, hassle-free.
- CYCLONIC GRILLING TECHNOLOGY: Uses 500°F of hot cyclonic air and 500°F grill grate to perfectly cook or char grill your food with char-grilled marks and delicious flavors.

- REPLACE 14 KITCHEN APPLIANCES IN ONE POT: This 8.5 qt multi-cooker handles slow cooking, Dutch oven, searing, sautéing, steaming, roasting, baking, and keeping warm — declutter your countertop and simplify one-pot cooking.
- COOK UP TO 30% FASTER WITH TRIPLE FUSION HEAT: Proprietary bottom, side, and steam heating elements work together so a 6-lb chicken finishes significantly faster than a conventional oven — ideal for busy weeknight meal prep.
- SEAR, SAUTÉ & SLOW COOK IN ONE VESSEL — ZERO DISHES: Sear proteins, caramelize vegetables, then slow cook or braise in the same nonstick pot. No stovetop transfers, no extra pans — real one-pot meals.
- The stainless steel pressure cooker that crisps. TenderCrisp Technology lets you quickly pressure cook to lock in juices then swap lids for a crispy, golden air fry finish.
- 10-in-1 versatility lets you pressure cook, slow cook, steam, make yogurt, sear/sauté, air fry crisp, bake/roast, broil, dehydrate, and keep foods warm inside the pot.
- Stainless steel nesting broil rack lets you steam, broil, and add a layer of capacity and it easily stores inside the cooking pot.

- NINJA FOODI GRILL: The grill that sears, sizzles, and air fry crisps. New exterior look with all the great functions you love from the original Foodi Grill.
- 6 VERSATILE FUNCTIONS: Grill, Air Crisp, Roast, Bake, Broil, and Dehydrate functions enabled by wide temperature range.
- CYCLONIC GRILLING TECHNOLOGY: Uses 500°F cyclonic air to perfectly cook or char-grill your food to your desired doneness on the grill grate for delicious, char-grilled marks and flavors.
Why Use a Ninja Foodi for Marry Me Chicken Pasta?
The Ninja Foodi has become increasingly popular for preparing traditionally complex dishes in a simplified format. Its pressure cooking function allows proteins and starches to cook simultaneously while maintaining moisture and enhancing flavor absorption.
Unlike stovetop versions that require separate cooking steps for pasta and sauce, the Ninja Foodi integrates all ingredients within one sealed cooking environment. This process enables the pasta to absorb the creamy garlic sauce during pressure cooking, resulting in a richer and more cohesive dish.
Additional advantages include:
- Faster cooking time compared to traditional methods
- Reduced evaporation for cream-based sauces
- Even heat distribution
- Hands-free cooking after sealing
- Fewer utensils required
This makes the Ninja Foodi especially suitable for creamy pasta recipes such as Marry Me Chicken Pasta, which rely heavily on sauce consistency and protein tenderness.
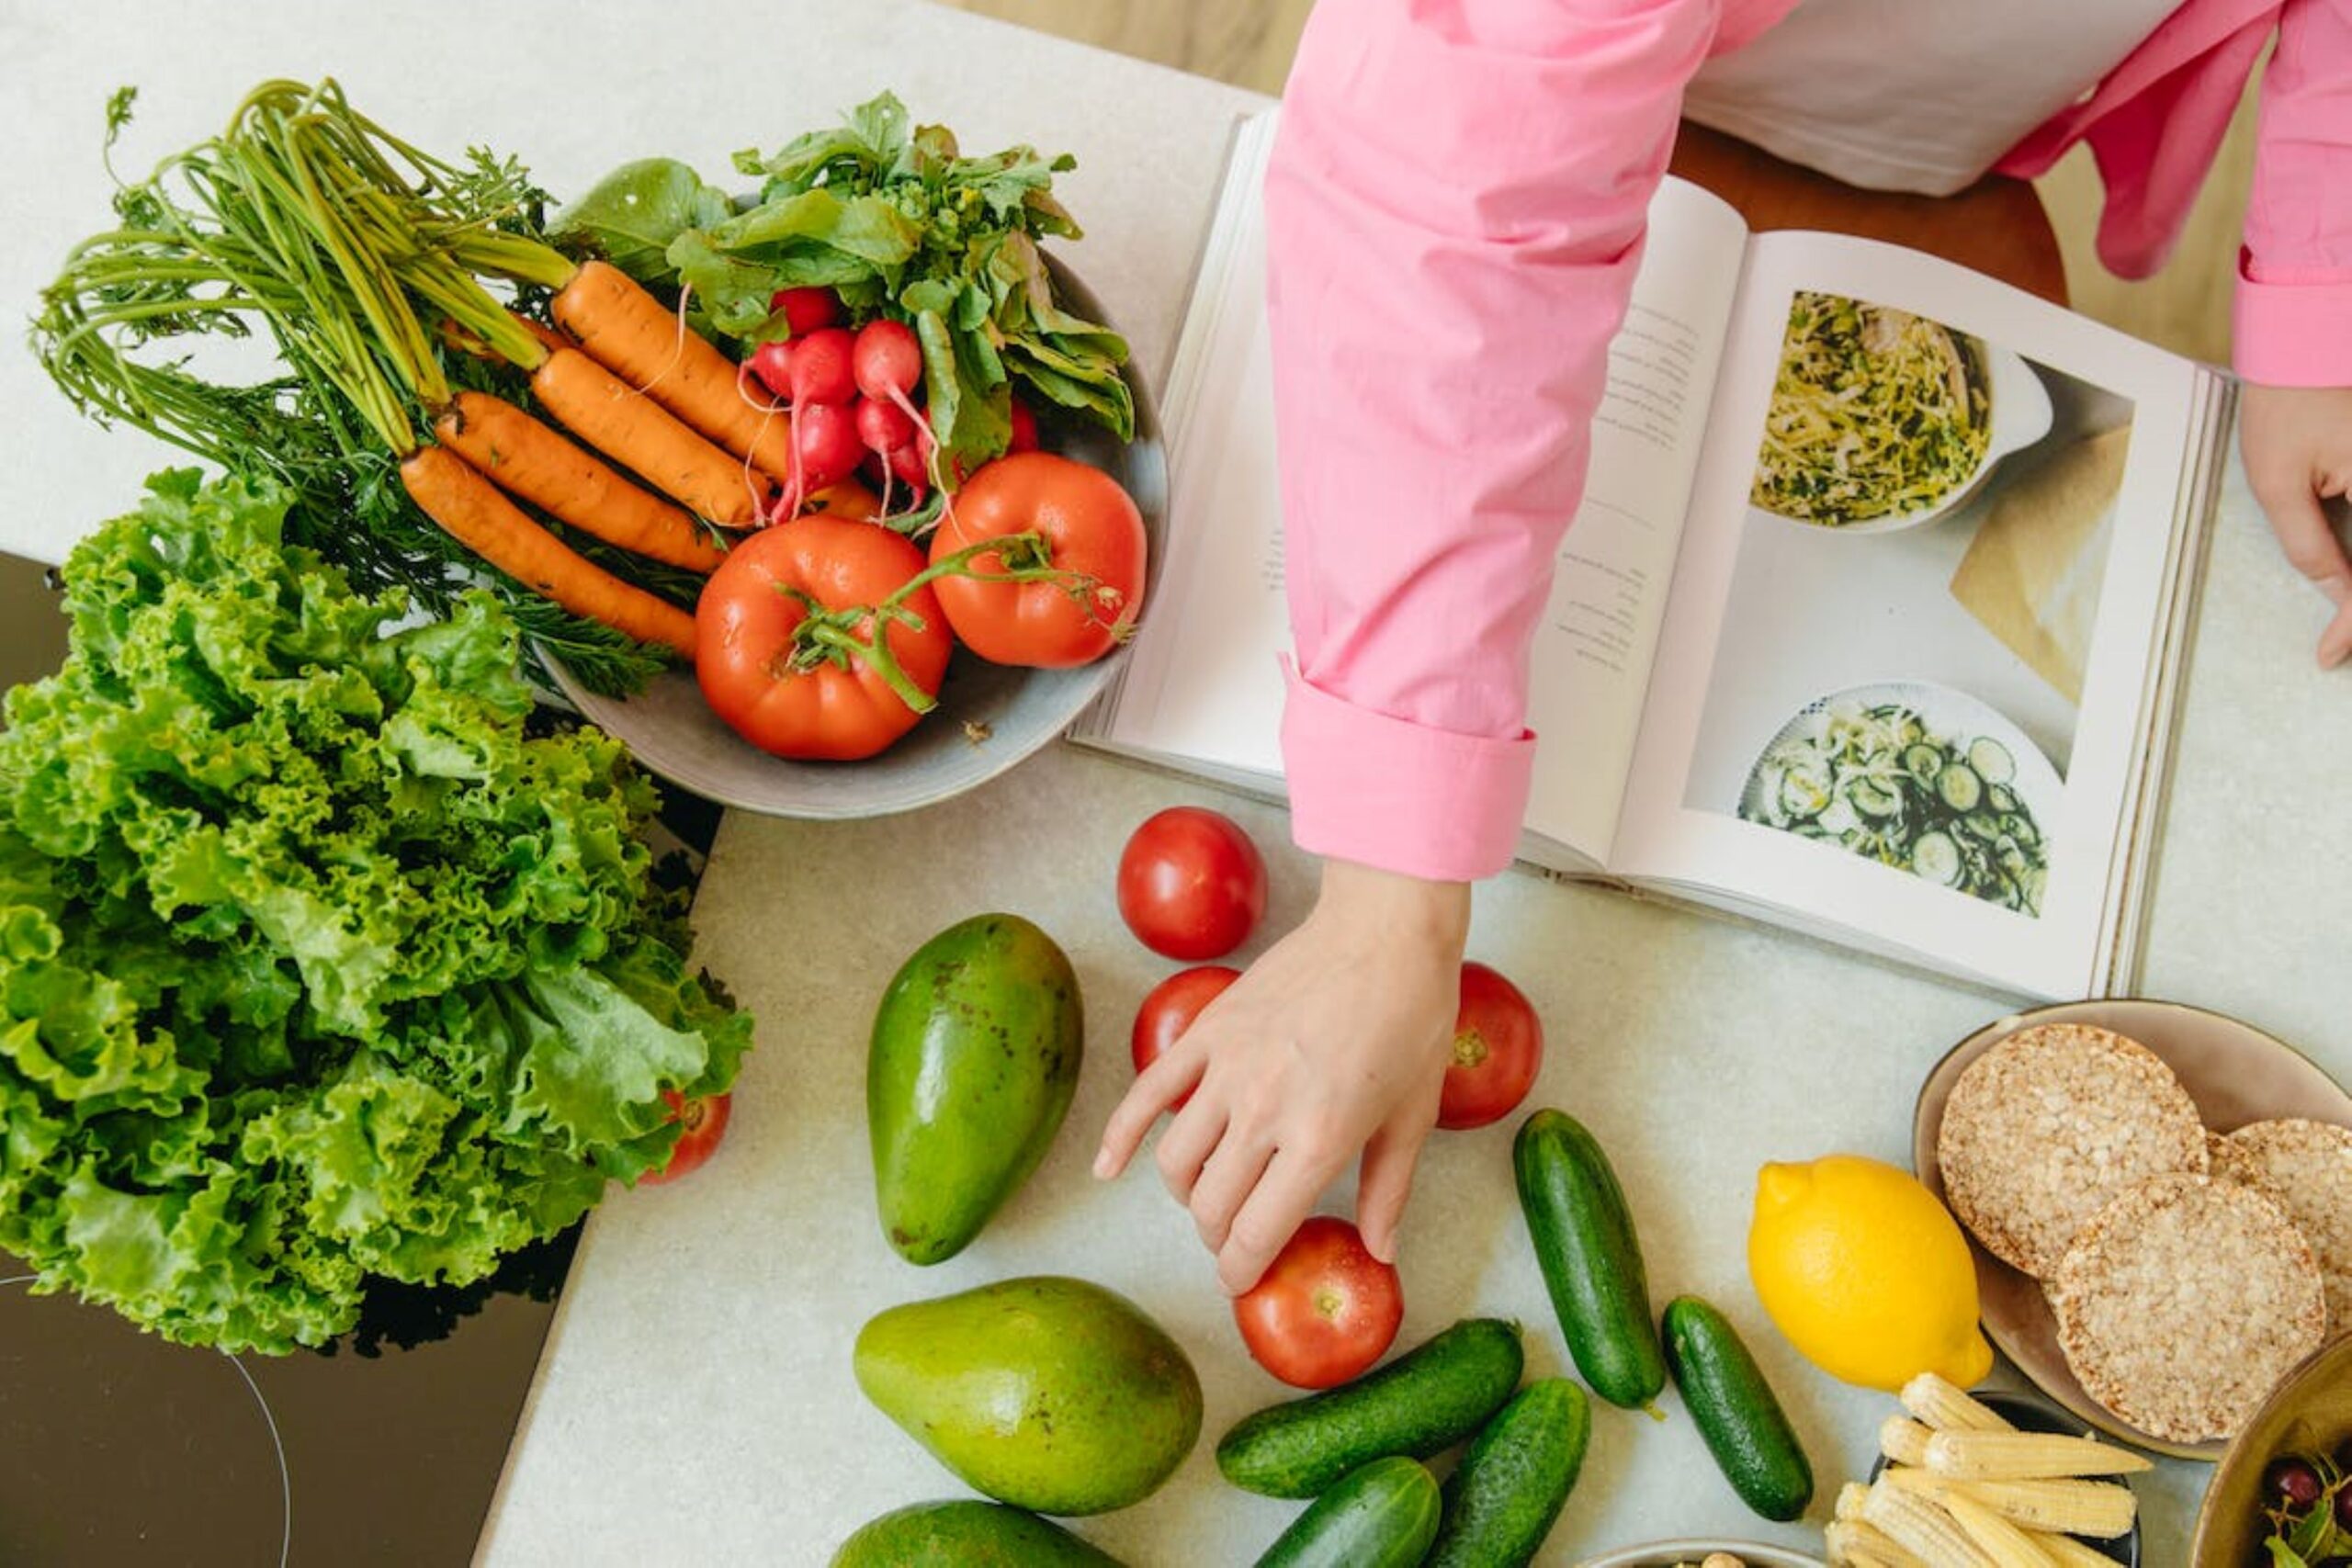
Ingredients Needed
Preparing Marry Me Chicken Pasta in a Ninja Foodi requires simple pantry staples and fresh ingredients.
Boneless skinless chicken breast provides lean protein and absorbs the garlic cream sauce effectively.
Penne or rigatoni pasta works best because its tubular structure allows the sauce to coat evenly.
Sun-dried tomatoes add acidity and umami depth, balancing the richness of the cream.
Garlic, onion powder, paprika, and Italian seasoning create a layered flavor base.
Chicken broth is used instead of water to enhance overall taste.
Heavy cream forms the creamy base of the sauce.
Parmesan cheese adds saltiness and thickness once melted.
Fresh spinach may be added for texture and color contrast.
Olive oil is used during the sauté process to brown the chicken before pressure cooking.
Step-by-Step Cooking Instructions
Step 1: Sauté the Chicken
Begin by selecting the sauté function on the Ninja Foodi and allowing the pot to preheat for approximately one to two minutes. Add olive oil and let it warm before placing diced chicken into the pot in a single layer. Season the chicken with salt, pepper, paprika, and Italian seasoning to build an initial flavor base. Sauté for several minutes, turning occasionally, until the chicken is lightly browned on all sides. Browning helps enhance the overall depth of flavor by creating caramelized bits at the bottom of the pot. Once seared, remove the chicken and set it aside temporarily.
Step 2: Build the Flavor Base
With the sauté function still active, add minced garlic and sun-dried tomatoes to the same pot. Cook briefly until aromatic, ensuring the garlic does not burn. Pour in a small amount of chicken broth to deglaze the pot, gently scraping the bottom to lift any browned residue. This step helps prevent burn warnings during pressure cooking and incorporates additional flavor into the sauce.
Step 3: Add Pasta and Liquid
Return the sautéed chicken to the pot and add uncooked pasta along with the remaining chicken broth. The liquid should mostly cover the pasta to ensure even cooking. Lightly distribute the pasta throughout the pot without excessive stirring, as this may cause clumping or sticking during the pressure cycle.
Step 4: Pressure Cook
Seal the Ninja Foodi pressure lid securely and set the appliance to pressure cook on high for approximately five minutes. After cooking, allow for a natural pressure release for about five minutes before carefully releasing any remaining pressure manually. This gradual release helps maintain the texture of both the pasta and chicken.
Step 5: Create the Cream Sauce
Switch the appliance back to sauté mode and slowly pour in the heavy cream. Stir gently as the sauce begins to thicken. Add grated parmesan cheese and continue mixing until fully melted and incorporated. Optional spinach may be folded in at this stage and cooked until wilted.
Step 6: Serve
Turn off the sauté function and allow the pasta to rest for several minutes before serving. This resting period allows the sauce to continue thickening and ensures a cohesive consistency.
Flavor Profile and Texture
Marry Me Chicken Pasta features a balanced combination of creamy, savory, and tangy elements that contribute to its widespread appeal. The heavy cream provides a rich base, while parmesan cheese introduces depth and saltiness. Sun-dried tomatoes add a subtle tang that offsets the richness of the sauce, and garlic contributes aromatic warmth.
Pressure cooking within the Ninja Foodi allows the chicken to remain tender while enabling the pasta to absorb surrounding flavors. As starch is released from the pasta during cooking, it naturally thickens the cream-based sauce, creating a smooth and cohesive texture without the need for additional thickening agents.
Tips for Best Results
Freshly grated parmesan cheese is recommended for smoother melting and improved sauce consistency. Pre-shredded varieties often contain anti-caking agents that may affect texture.
Avoid overfilling the Ninja Foodi pot to ensure proper pressure circulation and prevent uneven cooking.
Cut chicken into evenly sized pieces to promote consistent cooking throughout the pressure cycle.
Reserve a small amount of additional broth or cream if a thinner sauce is desired after cooking.
Allow the pasta to rest for several minutes before serving to help the sauce settle and achieve optimal thickness.
Variations and Substitutions
Marry Me Chicken Pasta made in a Ninja Foodi can be easily modified to suit different dietary preferences, ingredient availability, or flavor profiles while maintaining its signature creamy consistency.
Gluten-free pasta may be substituted for traditional pasta varieties such as penne or rigatoni. When using rice-based or legume-based pasta, pressure cooking time should be reduced slightly to prevent overcooking. A quick pressure release is also recommended to maintain a firm texture.
Half-and-half may replace heavy cream for a lighter sauce option. While this reduces fat content, it may result in a thinner consistency. To compensate, additional parmesan cheese or a small portion of cream cheese may be stirred in after pressure cooking.
Mushrooms such as cremini or button varieties can be added during the sauté stage to enhance the savory depth of the dish. This addition provides extra texture and complements the garlic cream sauce.
Low-fat cream cheese may also be incorporated to create a thicker, tangier sauce without relying solely on heavy cream. This option works particularly well for those seeking a slightly lower-calorie variation.
Chicken thighs may replace chicken breast for increased moisture retention and richness. Their higher fat content allows them to remain tender throughout the pressure cooking process.
Dairy-free alternatives such as coconut cream or cashew cream may be used to replicate the creamy texture while accommodating lactose intolerance. Additional seasoning may be required to balance the flavor.
Optional ingredients such as spinach, kale, or red pepper flakes may also be included to enhance nutritional value or introduce mild heat.
Storage and Reheating
Proper storage of Ninja Foodi Marry Me Chicken Pasta helps maintain both flavor and texture for later consumption.
Leftovers should be transferred into an airtight container and refrigerated within two hours after cooking. When stored correctly, the dish can typically be kept for up to three days without significant quality loss.
During refrigeration, pasta will naturally absorb some of the surrounding sauce, resulting in a thicker consistency. To restore creaminess when reheating, a small amount of chicken broth, milk, or cream should be added before warming.
Reheating may be done using the Ninja Foodi sauté function on low heat. Gentle stirring during the reheating process helps distribute heat evenly and prevents sticking at the bottom of the pot.
Microwave reheating is also possible by using short intervals and stirring between cycles to maintain sauce consistency and avoid uneven heating.
Freezing is an option for extended storage; however, cream-based sauces may separate slightly after thawing. Adding a small amount of cream or broth during reheating can help re-emulsify the sauce.
For best results, freezing in individual portions is recommended to ensure quicker reheating and better texture retention.
Conclusion
Marry Me Chicken Pasta prepared in a Ninja Foodi offers a streamlined approach to a traditionally indulgent comfort dish. By combining sautéing and pressure cooking in a single appliance, the one-pot method minimizes preparation time while maintaining the creamy texture and savory flavor associated with the original recipe.
This cooking method allows pasta and protein to absorb seasoning more effectively, resulting in a cohesive and well-balanced dish. The reduced need for multiple pots and pans also simplifies cleanup, making it suitable for both weeknight dinners and meal preparation routines.
Its adaptability through ingredient substitutions and dietary modifications makes it a practical option for a variety of cooking preferences. Whether prepared for convenience or comfort, this Ninja Foodi variation continues to stand out as a reliable and flavorful one-pot meal solution.
Frequently Asked Questions
1. Can frozen chicken be used in Ninja Foodi Marry Me Chicken Pasta?
Frozen chicken may be used if properly handled within the pressure cooking process. Since frozen protein requires additional time to reach a safe internal temperature, it is recommended to increase the pressure cooking time by approximately two to three minutes. Cutting the chicken into smaller pieces before freezing may also help promote even cooking. After the pressure cycle, it is important to confirm that the internal temperature of the chicken reaches at least 165°F (74°C) before serving.
2. What pasta works best for this recipe?
Short pasta varieties such as penne, rigatoni, or rotini are generally recommended for Ninja Foodi Marry Me Chicken Pasta. These shapes hold the creamy sauce more effectively due to their ridges and hollow centers, allowing for better flavor distribution. Long pasta such as spaghetti may be used but often requires breaking into smaller sections to fit evenly within the pot. Cooking times may also vary depending on pasta thickness.
3. Can milk replace heavy cream?
Milk may be substituted for heavy cream as a lower-fat alternative; however, the final sauce will likely be thinner and less rich in texture. To maintain a creamier consistency when using milk, adding grated parmesan cheese or a small amount of cream cheese during the sauté stage may help improve thickness. Full-fat milk generally produces better results than reduced-fat options.
4. How can the sauce be thickened further?
The sauce may be thickened by incorporating additional parmesan cheese or stirring in a small portion of cream cheese after pressure cooking. Allowing the dish to rest for several minutes before serving can also help the sauce naturally thicken as the pasta absorbs excess moisture. If needed, a cornstarch slurry may be added during sauté mode for additional consistency.
5. Is this recipe suitable for meal prep?
This recipe is suitable for meal preparation and can be stored in individual portions for convenient reheating. When reheated with a small amount of added broth or milk, the pasta typically maintains its creamy texture. Proper refrigeration helps preserve flavor for several days, making it a practical option for planned meals.
Last update on 2026-07-05 / Affiliate links / Images from Amazon Product Advertising API
*We may earn a commission for purchases made using our links. Please see our disclosure to learn more.