Best Ninja Appliance Keto Diet Recipes For Chicken Lovers
Are you looking for mouth-watering keto-friendly chicken recipes that can be made with your Ninja appliance? Well, you are not alone. Many people who keep a ketogenic diet also face the problem of finding tasty and healthy meals that suit their diet plan and can be easily prepared using various kitchen equipment. Therefore, Ninja Appliance Keto Diet Recipes is here to assist you!
Ninja Foodi is an all-in-one kitchen machine that provides multiple cooking options that can be used to prepare keto-friendly chicken recipes. In this article, you will discover 47 scrumptious Ninja Foodi chicken recipes that are keto-friendly and very much satisfying to the taste buds.
Don’t have time to read? 🎧 Listen to our podcast instead! Click play below to enjoy the full episode on the go, and catch all the tips and insights in just a few minutes.
From crispy Mississippi chicken to juicy grilled breasts, you’ll discover a variety of options to satisfy your cravings while sticking to your keto diet. Ready to transform your chicken dinners?
Key Takeaways
- The Ninja Foodi is a versatile appliance that combines pressure cooking, air frying, and other functions, making it ideal for preparing keto-friendly chicken dishes quickly and easily.
- Cooking frozen chicken directly in the Ninja Foodi saves time, with a typical chicken breast taking about 25 minutes to cook.
- The article provides 47 low-carb Ninja Foodi chicken recipes, including Crispy Mississippi Chicken, Cream Cheese Shredded Chicken with Bacon, and Air Fried Teriyaki Chicken.
- Keto-friendly side dish options for Ninja Foodi chicken recipes include roasted vegetables, cauliflower rice, and mixed green salads with high-fat dressings.
- The Ninja Foodi’s air crisp feature allows for crispy, low-carb chicken dishes without excess oil, supporting a ketogenic lifestyle.

What is the Ninja Foodi Appliance?
The Ninja Foodi Appliance is a versatile kitchen gadget that combines multiple cooking functions in one device. It offers pressure cooking, air frying, slow cooking, and more, making meal preparation easier and faster for busy home cooks.
Features and benefits of the Ninja Foodi
The Ninja Appliance Keto Diet Recipes stands out as a versatile kitchen appliance, combining multiple functions in one compact unit. This innovative device serves as an electric pressure cooker, air fryer, slow cooker, and more, streamlining meal preparation for busy home cooks.
You’ll appreciate its ability to pressure cook ingredients quickly, then switch to air crisping for a perfect finish, all without transferring food to another appliance.
One of the Ninja Foodi’s key benefits is its time-saving potential, especially for those following a keto diet. With its pressure cooking feature, you can prepare tender chicken breasts in just 25 minutes, ideal for meal prep throughout the week.
The air crisp function allows you to create crispy, low-carb chicken dishes without excess oil, supporting your ketogenic lifestyle.
The Ninja Foodi is a game-changer for keto dieters, offering quick, versatile cooking methods for delicious, low-carb meals.
Users rave about the Foodi’s ability to cook frozen chicken directly, eliminating the need for thawing and reducing overall meal prep time. This feature, combined with the appliance’s user-friendly interface and dishwasher-safe components, makes it an attractive option for both novice cooks and seasoned chefs looking to simplify their kitchen routines while maintaining a healthy, keto-friendly diet.
Essential Tips & Tricks for Cooking Chicken in the Ninja Foodi
Master the art of cooking chicken on your Ninja Appliance Keto Diet Recipes with these game-changing tips and tricks. Learn how to achieve perfectly cooked, juicy chicken every time, whether you’re starting with frozen or fresh meat.
Discover the secrets to adjusting cooking times for different cuts and explore innovative ways to use various chicken parts in your recipes.
Cooking frozen chicken in the Ninja Foodi
Cooking frozen chicken in the Ninja Appliance Keto Diet Recipes is a game-changer for busy home cooks. This versatile appliance allows you to create delicious, tender chicken dishes straight from the freezer, saving time and effort in meal preparation.
- Safety first: Always ensure your frozen chicken is sealed in a food-safe bag or container before placing it in the Ninja Foodi. This prevents cross-contamination and maintains food safety standards.
- Pressure cooking method: Use the pressure cooking function to quickly thaw and cook frozen chicken. Add 1 cup of water or broth to the pot, place the frozen chicken on the rack, and set the pressure cook time to 10-12 minutes per pound of chicken.
- Air crisp finish: After pressure cooking, use the air crisp function to achieve a crispy exterior. Brush the chicken with oil and seasonings, then air crisp for 5-7 minutes at 390°F (199°C) for perfectly golden and crispy skin.
- Temperature check: Use a meat thermometer to verify that the internal temperature of the chicken reaches 165°F (74°C) for safe consumption.
- Frozen chicken breasts: For boneless, skinless chicken breasts, pressure cook for 10 minutes, then natural release for 5 minutes. This method works well for the 25-minute Ninja Foodi chicken breast recipe mentioned in the article.
Using different types of chicken in recipes
The Ninja Appliance Keto Diet Recipes versatility shines when cooking various types of chicken. Different cuts offer unique flavors and textures, enhancing your keto-friendly recipes.
- Chicken breasts: Lean and protein-rich, ideal for quick meals. Use the Ninja Foodi’s pressure cooking function for 25 minutes to create tender, juicy breasts perfect for meal prep.
- Chicken thighs: Higher fat content makes them perfect for keto diets. Air crisp in the Ninja Foodi for crispy skin while keeping the meat moist.
- Whole chicken: Utilize the Ninja Foodi’s rotisserie function for an evenly cooked, flavorful bird. This method works well for both fresh and frozen chicken.
- Chicken wings: Air fry for a healthier alternative to deep-fried wings. The Ninja Foodi creates crispy exteriors while maintaining juicy interiors.
- Ground chicken: Use in casseroles or form into patties for air-fried chicken burgers. The Ninja Foodi’s even heating ensures thorough cooking.
- Chicken tenders: Perfect for homemade chicken nuggets. The air fryer function produces crispy exteriors without excess oil, appealing to picky eaters.
- Bone-in chicken: Pressure cook first, then air crisp for fall-off-the-bone texture with crispy skin. This method works well for drumsticks and split breasts.
- Frozen chicken: The Ninja Foodi excels at cooking frozen chicken safely and quickly. Use the pressure cook function to thaw and cook simultaneously.
The next section will cover essential tips and tricks for perfecting your chicken dishes in the Ninja Appliance Keto Diet Recipes.
Adjusting cooking time for chicken breasts in the Ninja Foodi
Cooking chicken breast in the Ninja Appliance Keto Diet Recipes requires precision to achieve perfect results. Follow these tips to adjust cooking times for juicy, flavorful chicken every time:
- Size matters: Thicker chicken breasts need longer cooking times. For a 4-ounce breast, start with 5 minutes of pressure cooking. Add 1-2 minutes for each additional ounce.
- Temperature check: Use a meat thermometer to ensure the internal temperature reaches 165°F (74°C). This guarantees safe consumption and optimal texture.
- Frozen vs. thawed: Frozen chicken breasts require about 50% more cooking time. For a 6-ounce frozen breast, aim for 10-12 minutes under pressure.
- Marinade impact: Acidic marinades can slightly reduce cooking time. If using a citrus or vinegar-based marinade, decrease the cooking time by 1-2 minutes.
- Desired texture: For a more tender result, use the natural release method after pressure cooking. For firmer texture, perform a quick release.
- Air crisp finish: After pressure cooking, use the air crisp function for 3-5 minutes at 400°F (204°C) to achieve a golden-brown exterior.
- Altitude adjustments: At higher elevations, increase cooking time by 5% for every 1,000 feet above sea level to compensate for lower air pressure.
- Batch cooking: When cooking multiple chicken breasts, arrange them in a single layer. If stacking is necessary, increase the cooking time by 2-3 minutes.
- Bone-in considerations: Bone-in chicken breasts require about 2-3 minutes longer cooking time compared to boneless cuts of similar weight.
- Resting period: Allow the chicken to rest for 3-5 minutes after cooking. This helps redistribute juices and complete the cooking process.
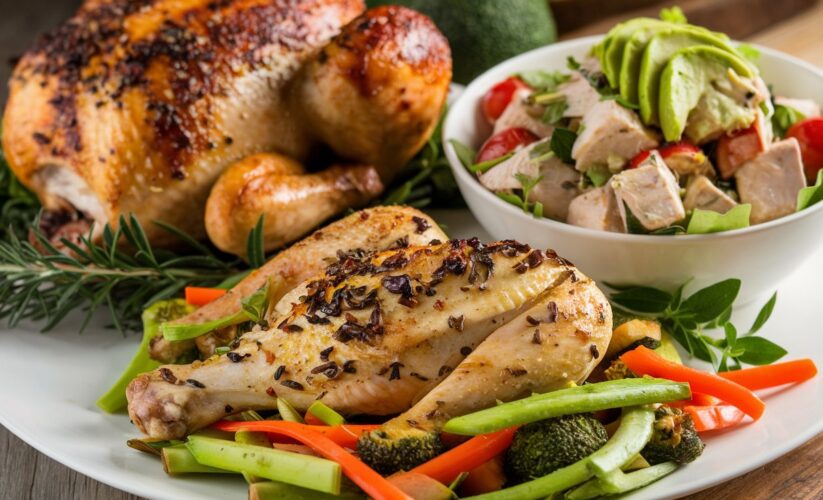
Low Carb and Keto-Friendly Ninja Foodi Chicken Recipes
Discover mouthwatering chicken recipes that align with your low-carb and keto lifestyle using the Ninja Appliance Keto Diet Recipes. These dishes offer a perfect blend of flavor and nutrition, making them ideal for anyone following a ketogenic diet or looking to reduce their carb intake.
KETO CRISPY MISSISSIPPI CHICKEN
Ingredients:
- 4 boneless, skinless chicken thighs
- 1 packet ranch seasoning mix
- 1 packet au jus gravy mix
- 1/4 cup unsalted butter
- 6-8 pepperoncini peppers
- 1/4 cup pepperoncini juice
- Salt and pepper to taste
- Olive oil spray
Procedure:
1. Season: Sprinkle salt and pepper on both sides of the chicken thighs.
2. Sear: Set the Ninja Foodi to the sauté function and lightly spray the pot with olive oil. Sear the chicken thighs for 3-4 minutes on each side until browned. Remove and set aside.
3. Prepare Base: Turn off the sauté function. Add ranch seasoning mix, au jus gravy mix, unsalted butter, pepperoncini peppers, and pepperoncini juice to the pot. Stir to combine.
4. Pressure Cook: Place the chicken thighs back into the pot, coating them with the seasoning mixture. Close the lid and set the pressure release valve to the ‘Seal’ position. Select the ‘Pressure Cook’ function and set the timer for 15 minutes.
5. Release Pressure: Once cooking is complete, let the pressure naturally release for 10 minutes, then carefully quick release any remaining pressure.
6. Crisp: Open the lid and switch to the ‘Air Crisp’ function. Spray the top of the chicken thighs with a light coating of olive oil. Air crisp at 400°F (200°C) for 5-10 minutes until the chicken is golden brown and crispy.
7. Serve: Carefully remove the chicken thighs from the Ninja Foodi. Serve with your favorite low-carb sides, such as cauliflower rice or a fresh green salad.
Tips:
- Extra Flavor: Add a splash of apple cider vinegar to the pepperoncini juice for extra tang.
- Spice Level: Adjust the number of pepperoncini peppers based on your spice preference.
- Storage: Leftovers can be stored in an airtight container in the refrigerator for up to 3 days.
Enjoy your delicious Keto Crispy Mississippi Chicken, a perfect combination of crispy exterior and juicy, flavorful interior made effortlessly with your Ninja Appliance Keto Diet Recipes!
Keto Cream Cheese Shredded Chicken with Bacon
Ingredients:
- 4 boneless, skinless chicken breasts
- 8 oz cream cheese, softened
- 8 slices of bacon
- 1 cup chicken broth
- 1 teaspoon garlic powder
- 1 teaspoon onion powder
- 1 teaspoon smoked paprika
- 1/2 teaspoon salt
- 1/2 teaspoon black pepper
- 1/4 cup chopped green onions (optional for garnish)
Procedure:
1. Season and Cook Chicken: Season the chicken breasts with garlic powder, onion powder, smoked paprika, salt, and black pepper.
2. Pressure Cook Chicken: Place the chicken breasts and chicken broth in the Ninja Foodi, set to ‘Pressure Cook’ for 10 minutes, then allow a 10-minute natural pressure release followed by a quick release.
3. Shredded Chicken: Remove the chicken breasts and shred them using two forks, then set aside.
4. Cook Bacon: Wipe the Ninja Foodi pot clean and switch to the ‘Air Crisp’ function, lay the bacon slices in a single layer in the air crisp basket, set the temperature to 390°F and cook for 8-10 minutes until crispy.
5. Crumble Bacon: Remove the bacon, crumble it into small pieces, and set aside.
6. Mix Chicken and Cream Cheese: In a large bowl, combine the shredded chicken and softened cream cheese until well blended.
7. Combine and Crisp: Stir in the crumbled bacon, reserving a small amount for topping, transfer the mixture back into the Ninja Foodi pot, and sprinkle the reserved bacon on top.
8.. Air Crisp: Set the Ninja Foodi to ‘Air Crisp’, 375°F, and cook for 5-7 minutes until the top is golden and crispy.
9. Serve: Garnish with chopped green onions if desired, and serve hot.
Tips:
- Ensure the cream cheese is softened for easy mixing.
- Adjust seasoning to taste.
- Serve with a side salad or steamed vegetables for a complete meal.
Enjoy your flavorful and keto-friendly dish made effortlessly with your Ninja Foodi!
Keto Air Fried Teriyaki Chicken
Ingredients:
- 1 lb chicken thighs or wings
- Salt and pepper, to taste
- 1 tbsp avocado oil (or any keto-friendly oil)
- 1/4 cup soy sauce (or coconut aminos for a soy-free option)
- 2 tbsp sugar-free sweetener (such as erythritol or monk fruit sweetener)
- 1 tbsp rice vinegar
- 1 tsp sesame oil
- 1 tsp garlic powder
- 1 tsp ginger powder
- 1 tbsp water
- 1 tsp xanthan gum (to thicken the sauce)
Procedure:
1. Season the Chicken: Pat the chicken dry. Season with salt and pepper. Drizzle with avocado oil and toss to coat. Let marinate.
2. Prepare the Teriyaki Sauce: Combine soy sauce, sweetener, rice vinegar, sesame oil, garlic powder, and ginger powder in a saucepan. Heat and stir until sweetener dissolves. Mix xanthan gum with water, then whisk into the sauce. Cook until thickened. Remove from heat.
3. Preheat the Air Fryer: Set Ninja Air Fryer to 400°F (200°C) and preheat for 3-5 minutes.
4. Cook the Chicken: Place chicken in a single layer in the air fryer basket. Cook for 18-20 minutes, flipping halfway, until golden brown and crispy. Ensure the internal temperature reaches 165°F (74°C).
5. Glaze the Chicken: Transfer cooked chicken to a bowl. Pour teriyaki sauce over and toss to coat. For extra crispiness, air fry for 2-3 more minutes.
6. Serve: Serve with cauliflower rice or zucchini noodles. Garnish with sesame seeds or green onions if desired.
Tips:
- Dry the Chicken: Dry the chicken before seasoning for crispier texture.
- Single Layer: Avoid overcrowding the air fryer basket for even cooking.
- Watch the Sauce: Sauce thickens quickly once xanthan gum is added.
Enjoy your keto-friendly Air Fried Teriyaki Chicken made with the Ninja Air Fryer!
Keto Juicy Grilled Chicken Breasts
Ingredients:
- 4 boneless, skinless chicken breasts
- 2 tablespoons olive oil
- 1 teaspoon garlic powder
- 1 teaspoon onion powder
- 1 teaspoon smoked paprika
- 1 teaspoon dried oregano
- 1 teaspoon dried thyme
- 1 teaspoon salt
- 1/2 teaspoon black pepper
- Juice of 1 lemon
Procedure:
1. Preheat: Preheat your Ninja Foodi on the grill setting at 450°F (230°C) for at least 10 minutes.
2. Prepare Chicken: Pat the chicken breasts dry with paper towels to remove any excess moisture.
3. Marinate: In a small bowl, combine olive oil, garlic powder, onion powder, smoked paprika, dried oregano, dried thyme, salt, black pepper, and lemon juice. Rub the mixture evenly over all sides of the chicken breasts. Let the chicken marinate for at least 15 minutes to allow the flavors to penetrate.
4. Grill: Place the marinated chicken breasts onto the preheated grill grate in the Ninja Foodi. Close the lid and grill the chicken for 7-10 minutes on one side, depending on the thickness of the chicken breasts. Open the lid, flip the chicken breasts, and grill for an additional 7-10 minutes on the other side until the internal temperature reaches 165°F (74°C).
6. Rest: Remove the chicken breasts from the grill and let them rest on a plate for 5 minutes to allow the juices to redistribute.
7. Serve: Slice the chicken breasts and serve hot. They pair well with a side of keto-friendly vegetables or a fresh green salad.
Tips:
- Marinade Variations: Feel free to customize the marinade by adding your favorite herbs and spices. Ensure any additions are keto-friendly.
- Storage: Leftover grilled chicken can be stored in an airtight container in the refrigerator for up to 3 days. Reheat gently to maintain juiciness.
- Meal Prep: These grilled chicken breasts are perfect for meal prep. Slice and portion them into meal prep containers with your favorite sides for easy grab-and-go meals throughout the week.
Enjoy your delicious and keto-friendly Juicy Grilled Chicken Breasts prepared effortlessly using your Ninja Foodi!
Serving Suggestions for Ninja Foodi Chicken Recipes
Elevate your Ninja Foodi chicken dishes with the perfect pairings and sides. Discover creative ways to present and store your meals for maximum enjoyment and convenience.
Pairing ideas for the chicken dishes
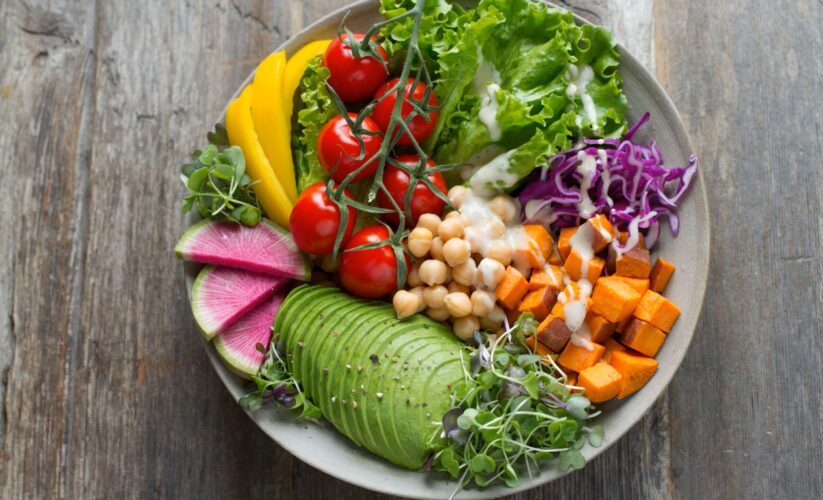
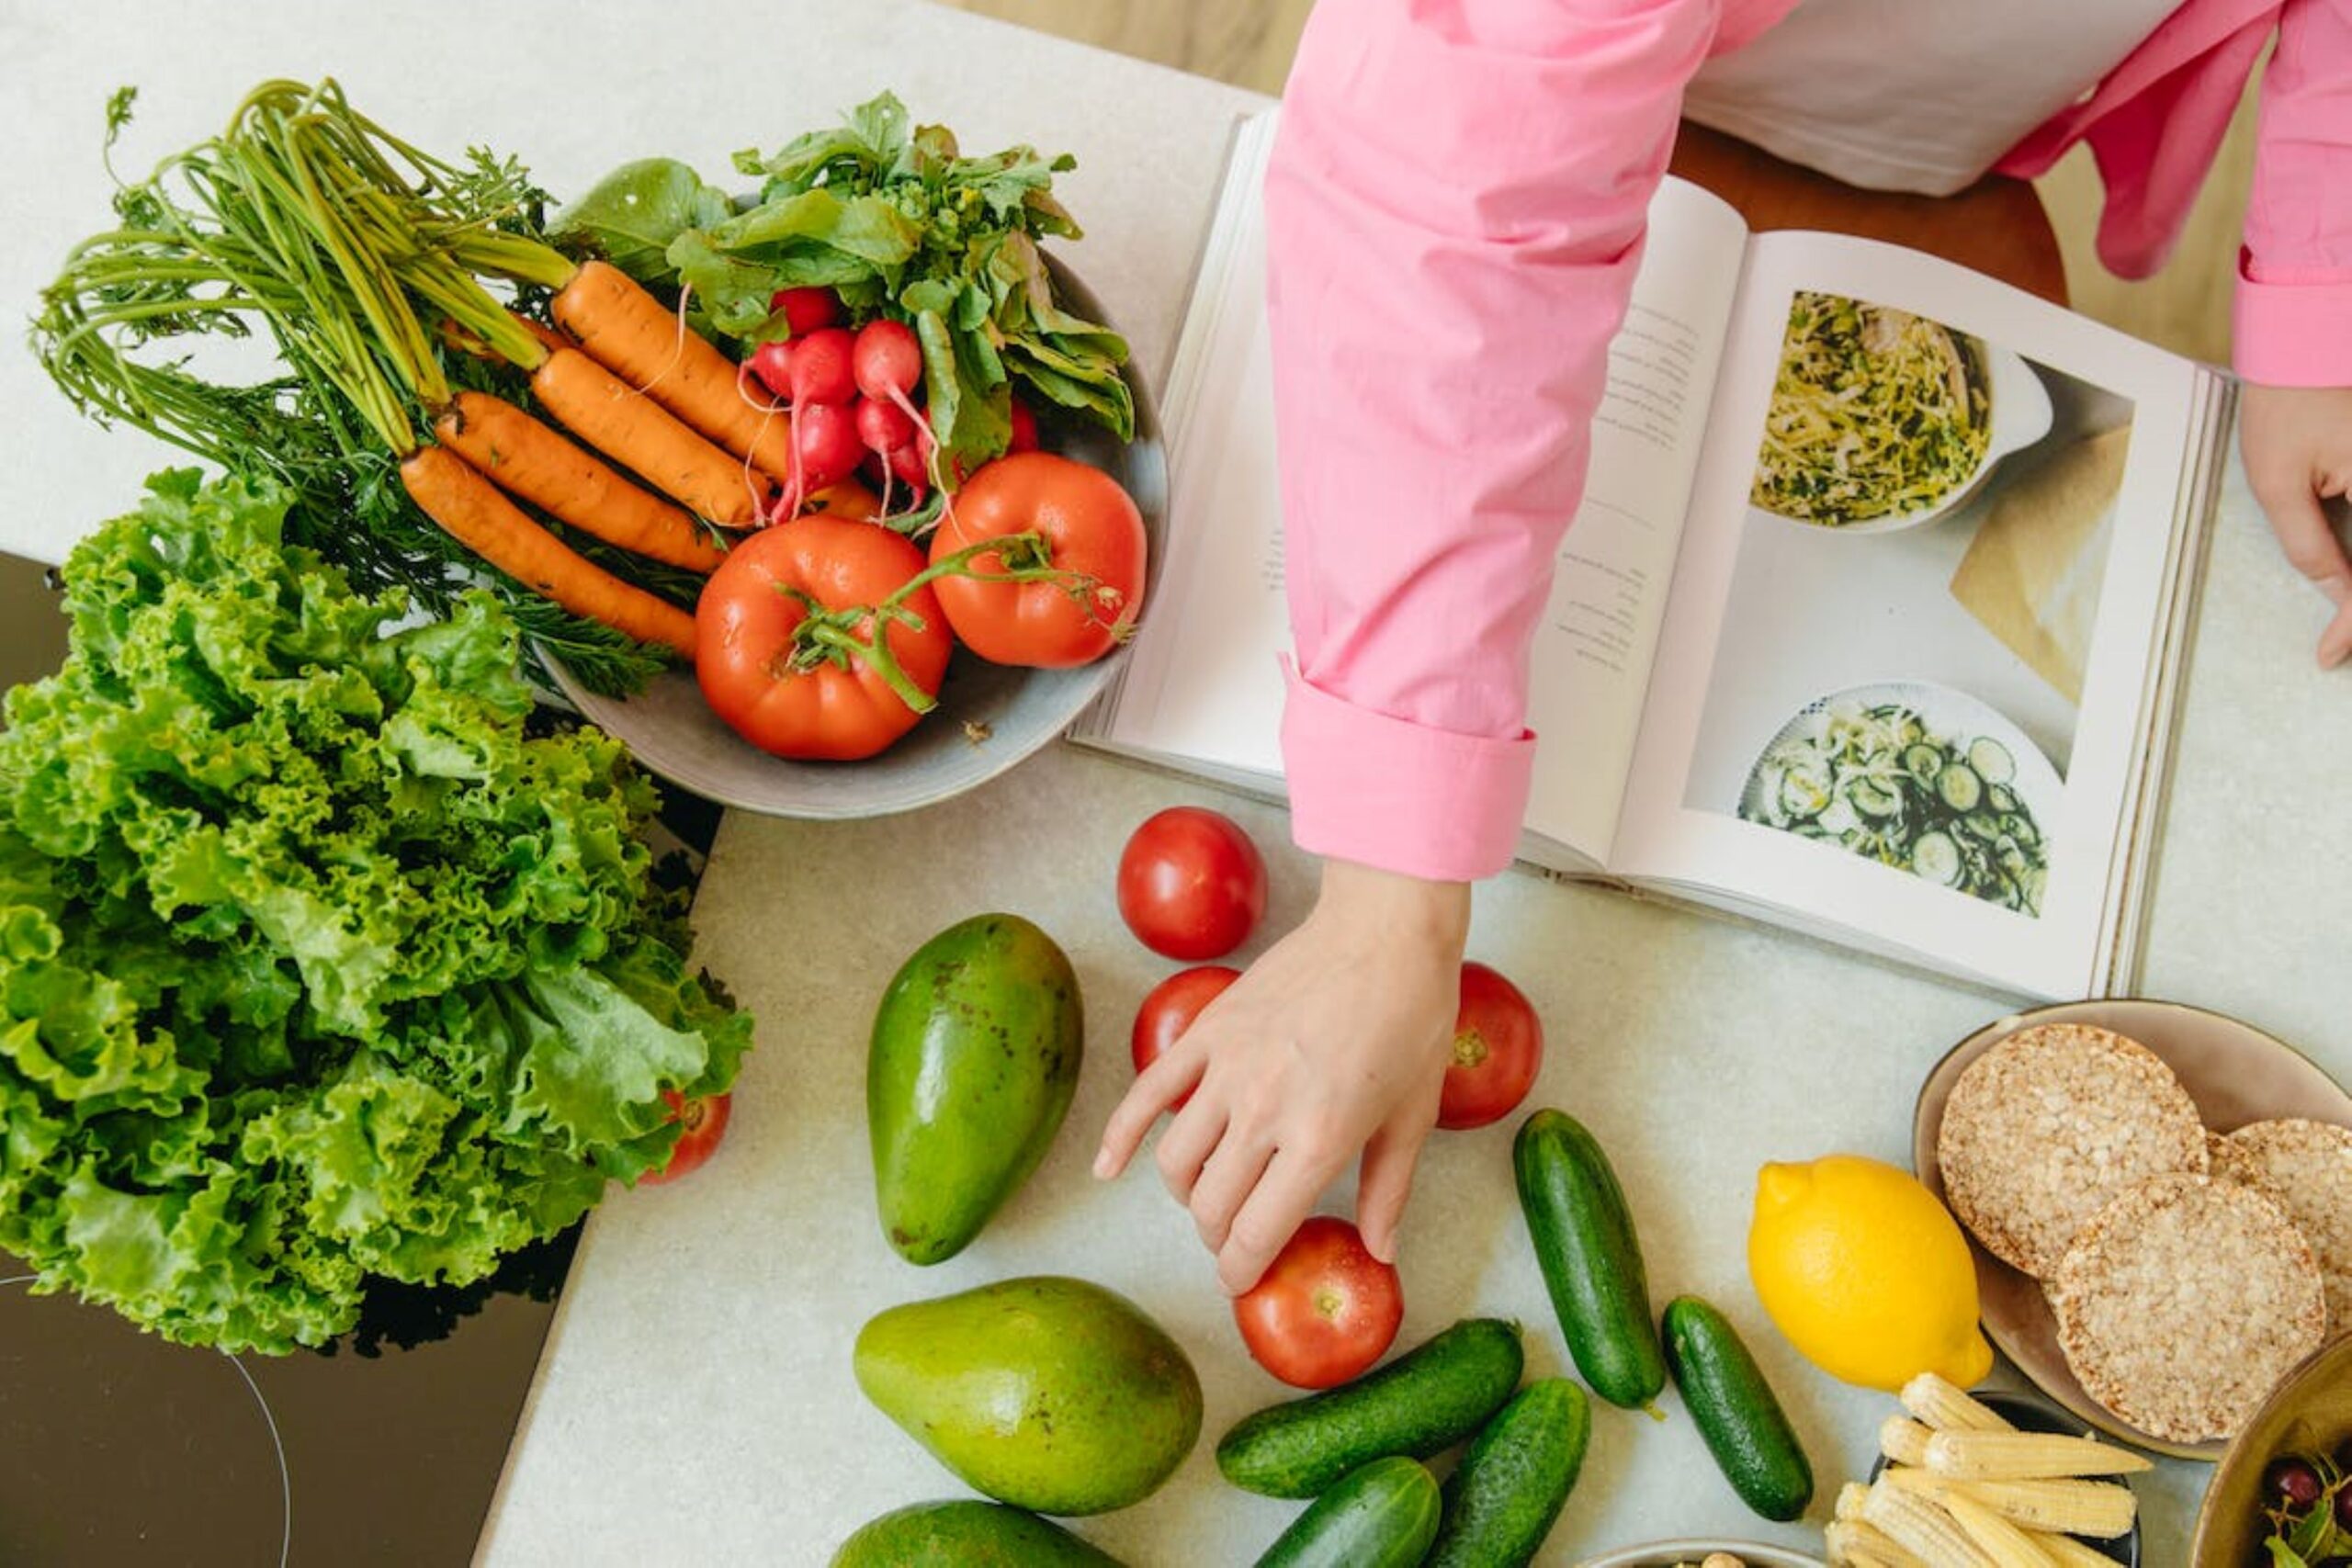
Pairing your Ninja Foodi chicken dish with complementary sides can elevate your meal experience. For low-carb and keto-friendly options, consider roasted vegetables like broccoli, cauliflower, or zucchini.

- NINJA FOODI SMART XL GRILL: Updated, sleek design with the same functions & benefits. Indoor countertop Grill and Air Fryer with the Smart Cook System & Thermometer.
- SMART COOK SYSTEM & THERMOMETER: The Foodi Smart Thermometer enables you to achieve the perfect doneness, from rare to well-done with 4 protein settings & 9 customizable doneness levels. Do it at the touch of a button with no more guesswork, hassle-free.
- CYCLONIC GRILLING TECHNOLOGY: Uses 500°F of hot cyclonic air and 500°F grill grate to perfectly cook or char grill your food with char-grilled marks and delicious flavors.
| Pros | Cons |
|---|---|
| Dual Cooking Capability: The two independent baskets let you cook different foods simultaneously, saving time and eliminating the need for back-to-back cooking. Versatile Cooking Options: With six cooking functions, this appliance can handle a wide range of recipes, making it suitable for various meal preparations. Healthier Cooking: It reduces fat content by up to 75% compared to traditional frying methods. | Size and Weight: The XL capacity may take up considerable counter space, which might be a concern for smaller kitchens. Learning Curve: Users may need some time to get accustomed to the dual-zone technology and various cooking settings. Higher Price Point: Compared to traditional air fryers, the multi-functionality and advanced features can come at a premium price. |
These nutrient-dense sides add color and texture to your plate while keeping carbs in check. You might also opt for a crisp salad with mixed greens, cucumber, and a high-fat dressing to balance the flavors of your main dish.
For those seeking heartier accompaniments, cauliflower rice or mashed cauliflower serve as excellent alternatives to traditional starches. These versatile sides absorb the flavors of your chicken dish while maintaining the low-carb profile of your meal.
Grilled asparagus or sautéed spinach with garlic offer quick, flavorful options that pair well with most chicken recipes. Remember to incorporate healthy fats into your sides, such as avocado slices or a sprinkle of nuts, to keep your meal keto-compliant and satisfying.
Side dish suggestions
Moving from pairing ideas to complementary side dishes, you’ll find numerous keto-friendly options to enhance your Ninja Foodi chicken meals. Roasted vegetables like zucchini, bell peppers, and asparagus make excellent low-carb accompaniments.

- INCLUDED IN THE BOX: 11-QT FlexBasket, Removable Divider, (2) Nonstick Crisper Plates. (air fryer basket and crisper plates are dishwasher safe) | Limited Refurbished Warranty
- DUALZONE FLEXBASKET TECHNOLOGY: Eliminate back-to-back cooking. Cook 2 foods 2 ways with Smart Finish or sync settings across both zones with Match Cook for full 11-qt capacity. Use the divider to cook with two 5.5 qt baskets for foods that require different cooking times or temps or remove it to have 1 MegaZone for full 11-qt capacity.
- 11 QT MEGAZONE: Unlocks the ability to cook larger proteins and meals that feed your whole family all in one basket.
| Pros | Cons |
|---|---|
| Large Capacity: The 11-quart MegaZone allows you to prepare meals for large families or gatherings, saving time and effort in meal prep. Versatile Cooking Options: With seven functions, you can air fry, roast, bake, and more, making it a multifunctional addition to your kitchen. Efficient DualZone FlexBasket: Cook two different foods at once with tailored settings, eliminating the need for back-to-back cooking. | Counter Space: The large size of the unit may require significant counter space, which could be a drawback for smaller kitchens. Learning Curve: Some users may find it challenging to navigate the various functions and settings initially. Limited Warranty: Being a renewed product, the warranty might be more limited compared to brand-new models, potentially raising concerns about long-term reliability. |
Cauliflower rice or mashed cauliflower serve as perfect substitutes for traditional starches, maintaining the keto balance while adding variety to your plate. For a refreshing touch, consider a crisp mixed green salad with a high-fat dressing or sliced avocado to boost healthy fats in your meal.
Meal prep and storage tips
Efficient meal prep and smart storage can maximize your Ninja Foodi chicken recipes. Batch cook several chicken breasts or thighs at once, then portion them into airtight containers for quick weekday lunches or dinners.
- TRUE SURROUND CONVECTION: Up to 10X the convection power vs. a traditional full-size convection oven for faster, crispier, and juicy results.
- 10 VERSATILE FUNCTIONS: Air Fry, Air Roast, Bake, Whole Roast, Broil, Toast, Bagel, Dehydrate, Reheat, and Pizza, all in one powerful 1800-watt appliance.
- SMART COOK SYSTEM: Achieve the perfect doneness from rare to well done at the touch of a button with the integrated Foodi Smart Thermometer – no guesswork required.
| Pros | Cons |
|---|---|
| Versatile Cooking Functions: Offers 10 cooking options, making it a one-stop solution for air frying, baking, broiling, and more. Fast and Efficient: Features a quick 90-second preheat time and cooks up to 30% faster than traditional ovens, saving valuable time. Healthier Cooking: Air fry function reduces fat content by up to 75% compared to deep frying, allowing for healthier meal options. | Size: The extra-large capacity may require more counter space, which could be a drawback for smaller kitchens. Learning Curve: With multiple functions and settings, it may take some time for users to become familiar with operating the oven. Price Point: Being a multifunctional appliance, it may be pricier than standard air fryers or toaster ovens. |
Cooked chicken will stay fresh in the refrigerator for 3-4 days, or you can freeze it for up to 3 months. For best results, cool your chicken completely before storing, and label containers with the date and contents.
Pair your prepped chicken with pre-cut veggies or pre-cooked sides for complete keto-friendly meals. The Ninja Foodi’s versatility allows you to cook multiple components simultaneously, saving time and effort.
You can reheat your meals directly in the Ninja Foodi using the air crisp function for a crispy exterior. Next, let’s explore some frequently asked questions about cooking chicken in the Ninja Foodi.
Conclusion
Your Ninja appliance will make your keto journey even more delectable with a variety of scrumptious keto-friendly chicken recipes. These meals help a person deal with the desire for certain foods and still maintain a keto diet. From Southern-style crispy Mississippi chicken to rich and creamy shredded chicken with bacon, there is something for everyone.
Change the way you prepare food and the flavors that you use to ensure that you are having fun while prepping meals. Get creative with your Ninja appliance and incorporate more keto chicken recipes into your daily meals.
FAQs
1. What are the best Ninja appliance recipes for keto chicken lovers?
Keto chicken recipes using Ninja appliances include air-fried chicken wings, pressure-cooked chicken thighs, and slow-cooked chicken soup. These dishes offer high protein and low carb options for keto dieters.
2. How can I make keto-friendly chicken meals in my Ninja cooker?
Use your Ninja cooker to prepare keto chicken meals by focusing on high-fat, low-carb ingredients. Try cooking chicken in coconut oil, adding cream-based sauces, or pairing it with low-carb vegetables like cauliflower or zucchini.
3. Are there quick keto chicken recipes for Ninja blenders?
Yes, Ninja blenders can create quick keto chicken recipes. Blend cooked chicken with avocado, cream cheese, and spices for a high-fat chicken salad. You can also make keto-friendly chicken soups or smoothies with bone broth bases.
4. What Ninja appliance works best for keto chicken meal prep?
The Ninja Foodi multi-cooker excels at keto chicken meal prep. Its pressure cooking and air frying functions allow for versatile, time-saving meal preparation. You can cook large batches of chicken for the week ahead, ensuring tender and flavorful results.
Last update on 2026-02-17 / Affiliate links / Images from Amazon Product Advertising API
*We may earn a commission for purchases made using our links. Please see our disclosure to learn more.